|
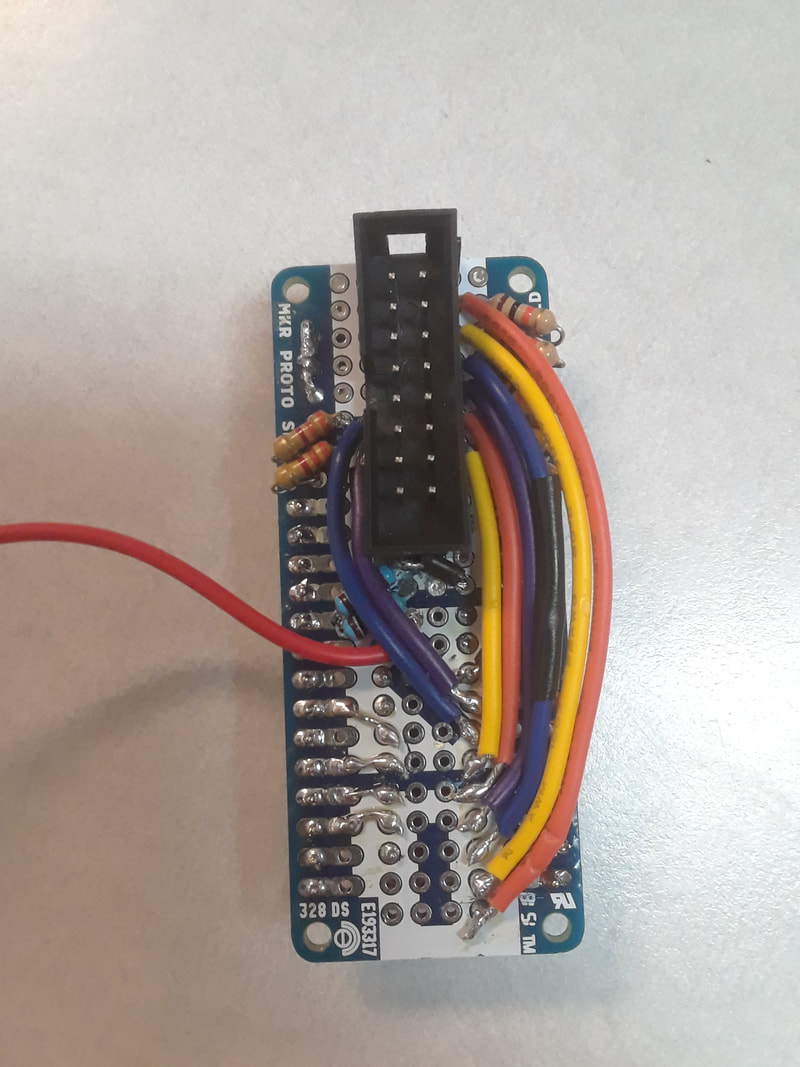
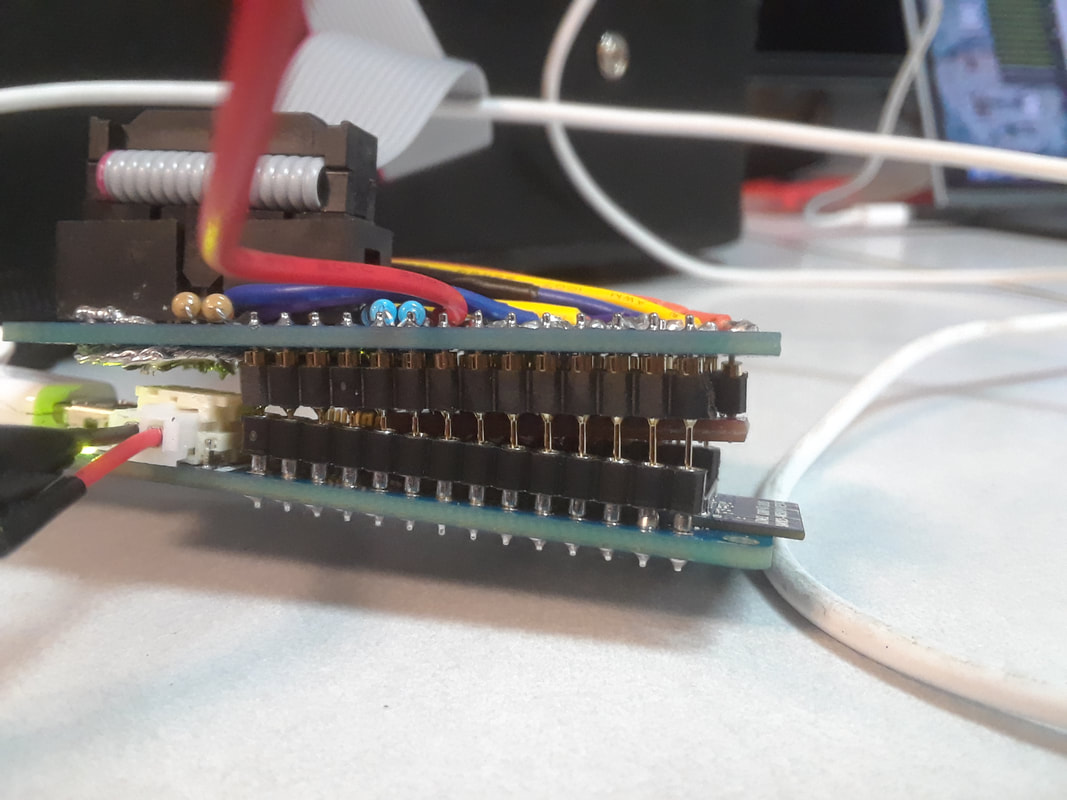
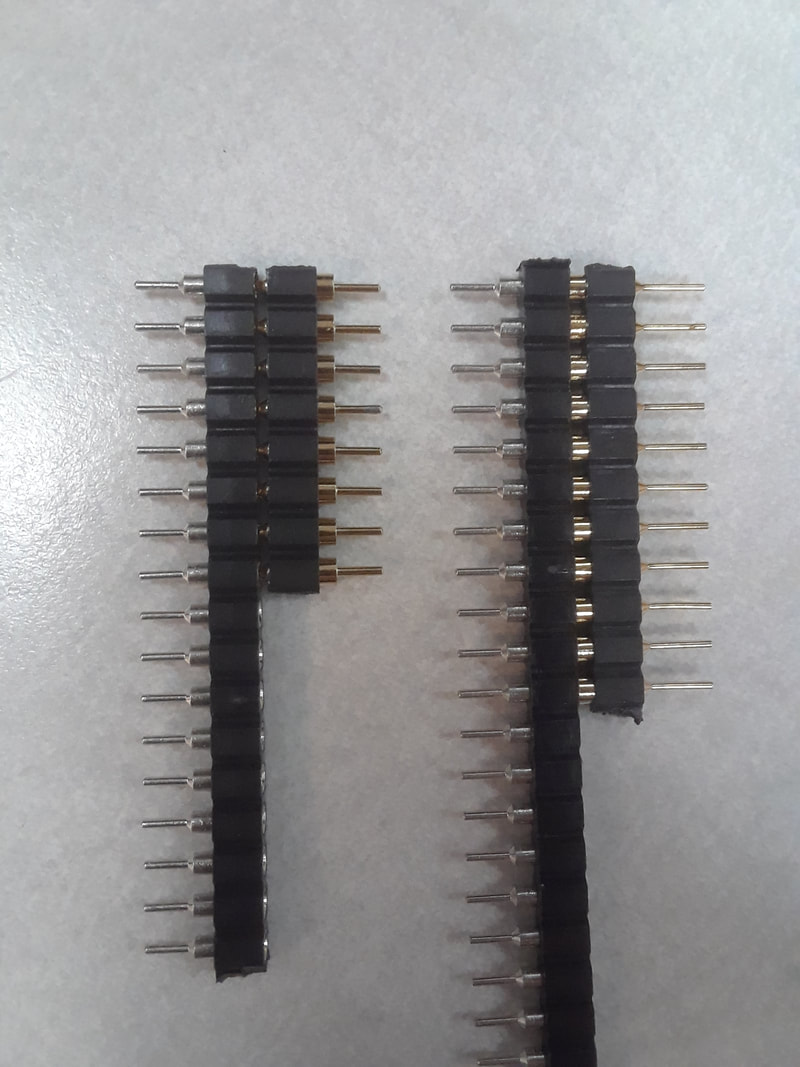
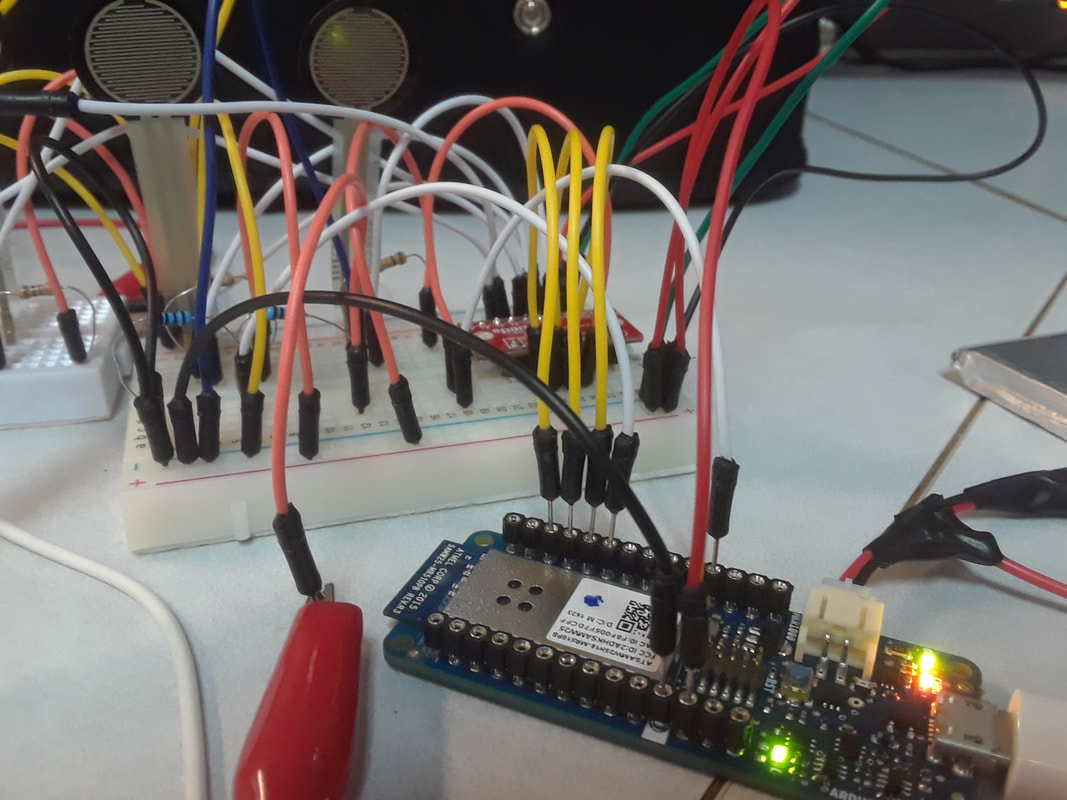
Despite the buzzing, I moved on to working on the Arduino, because for the purposes of a proof of concept, the fingerboard was done. I discovered that the swiss machine headers I have are slightly different from the ones that are on TRAVIS I. For some reason the connection between the shield and the Arduino is fine when it is tilted to the extreme and does not work when it is sitting flat. I think it will be fine if the male to male headers are turned around.
0 Comments
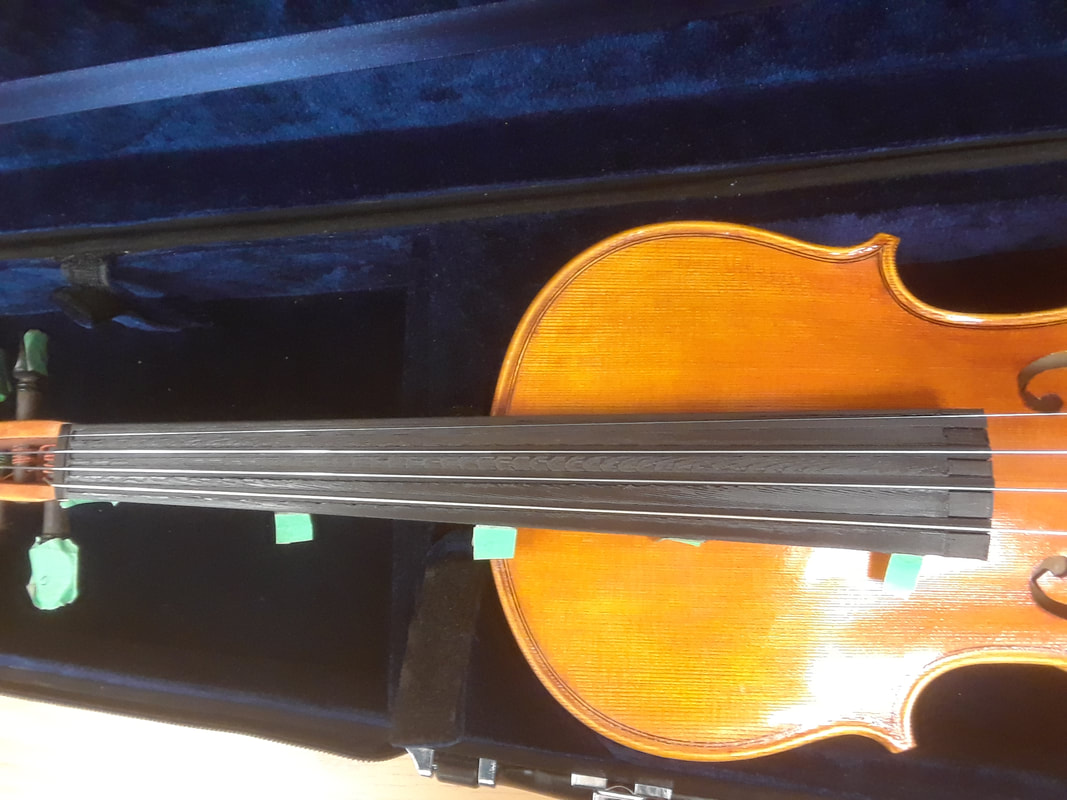
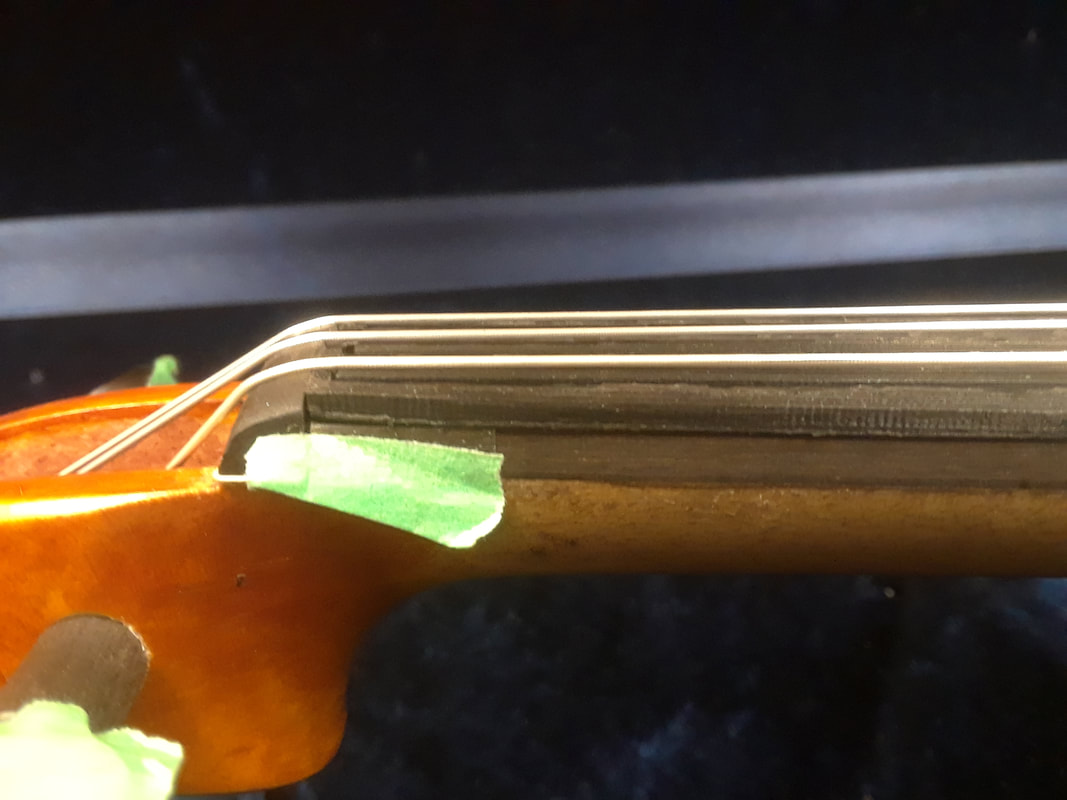
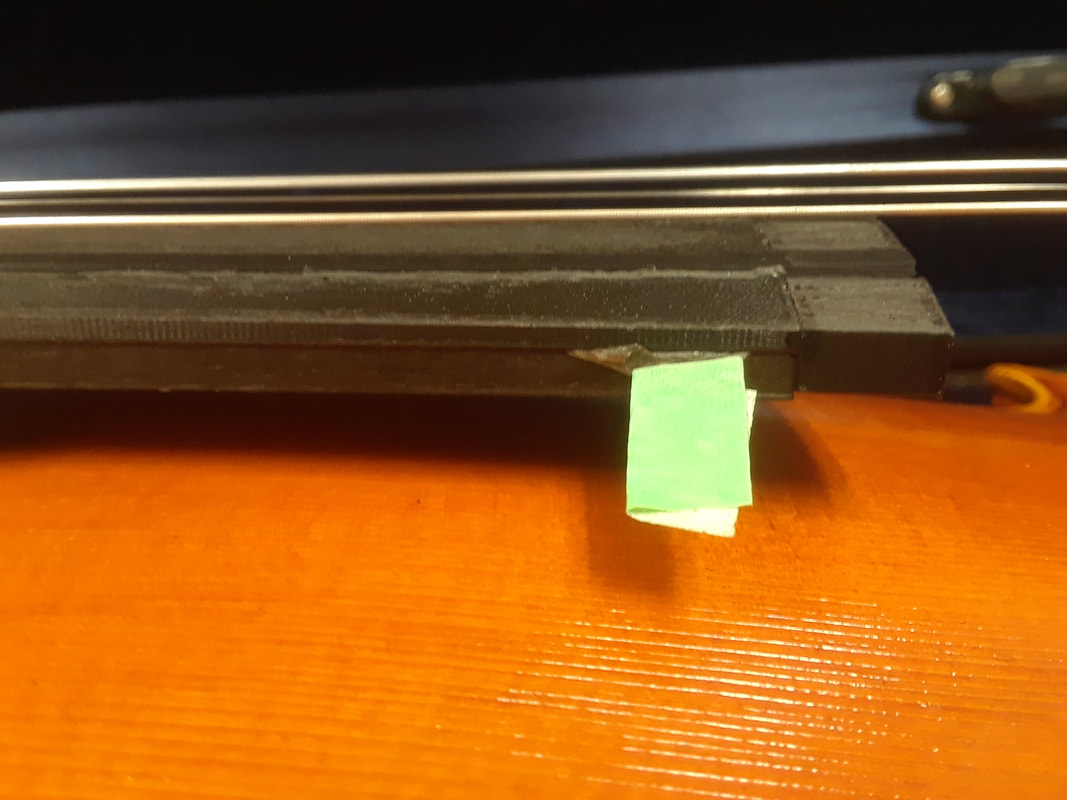
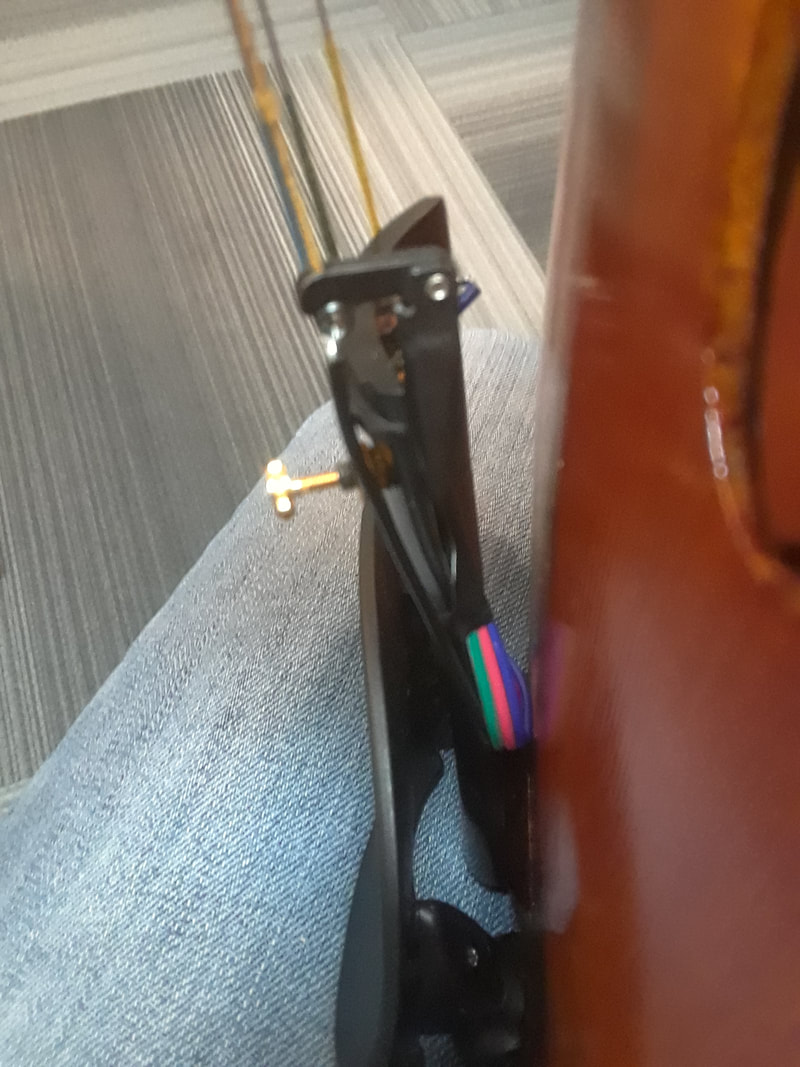
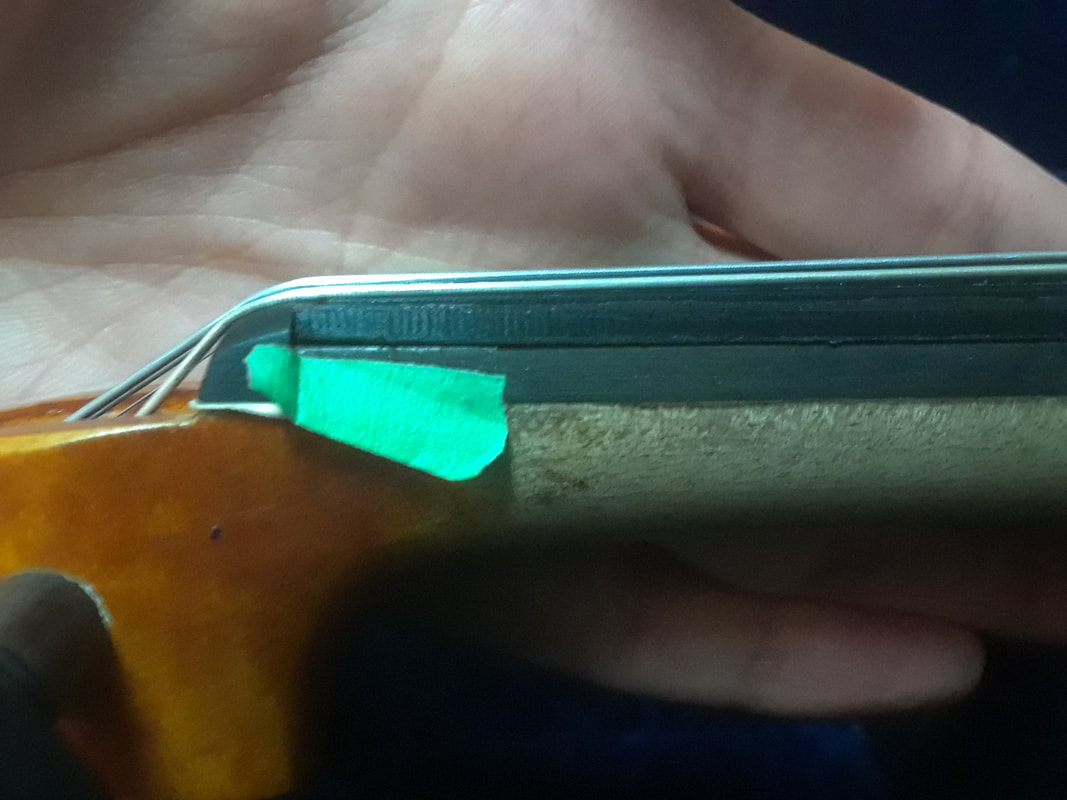
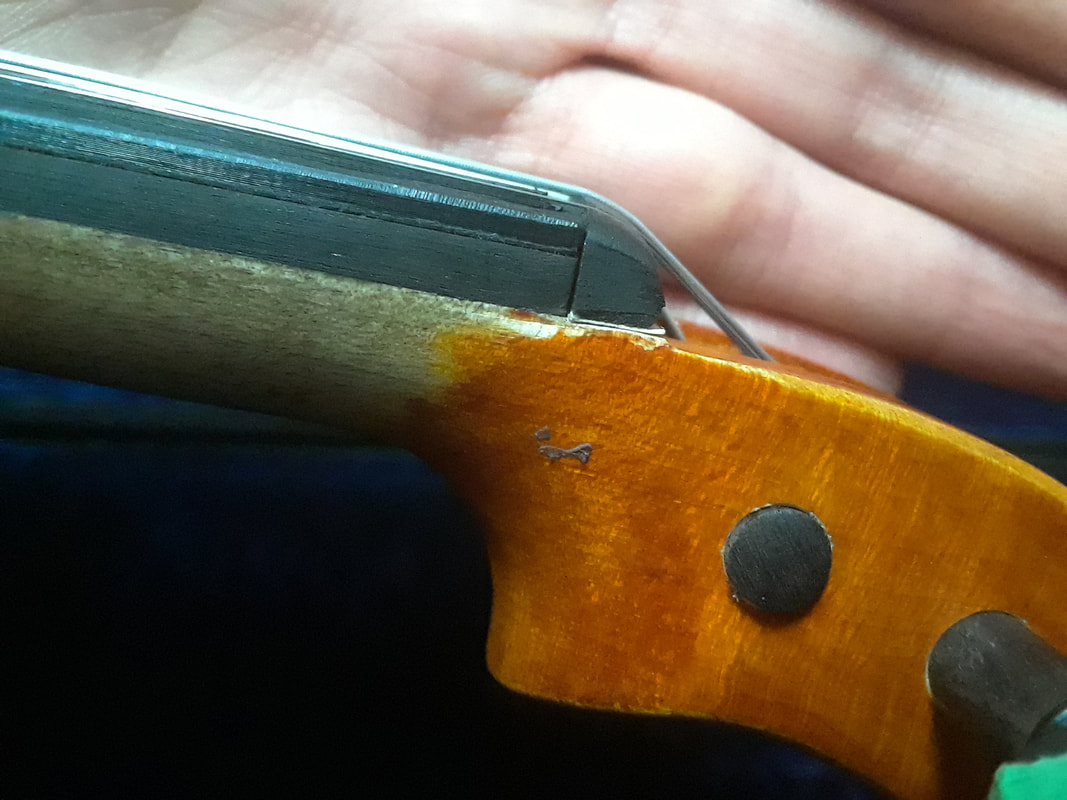
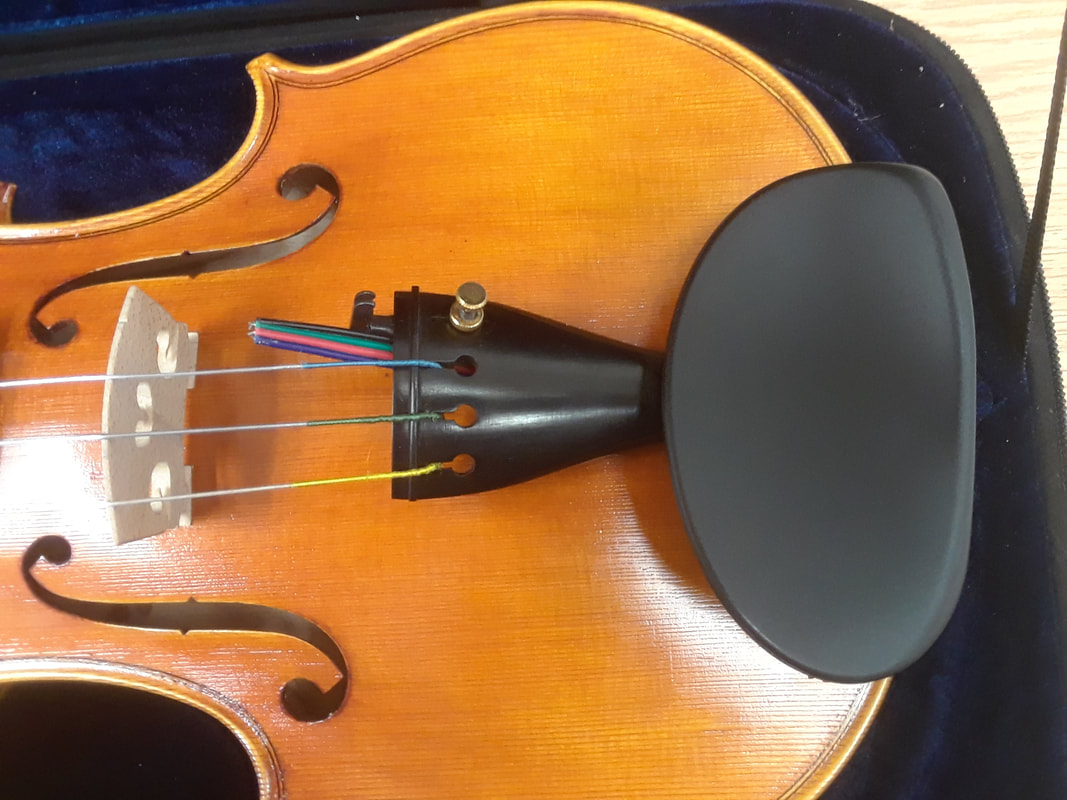
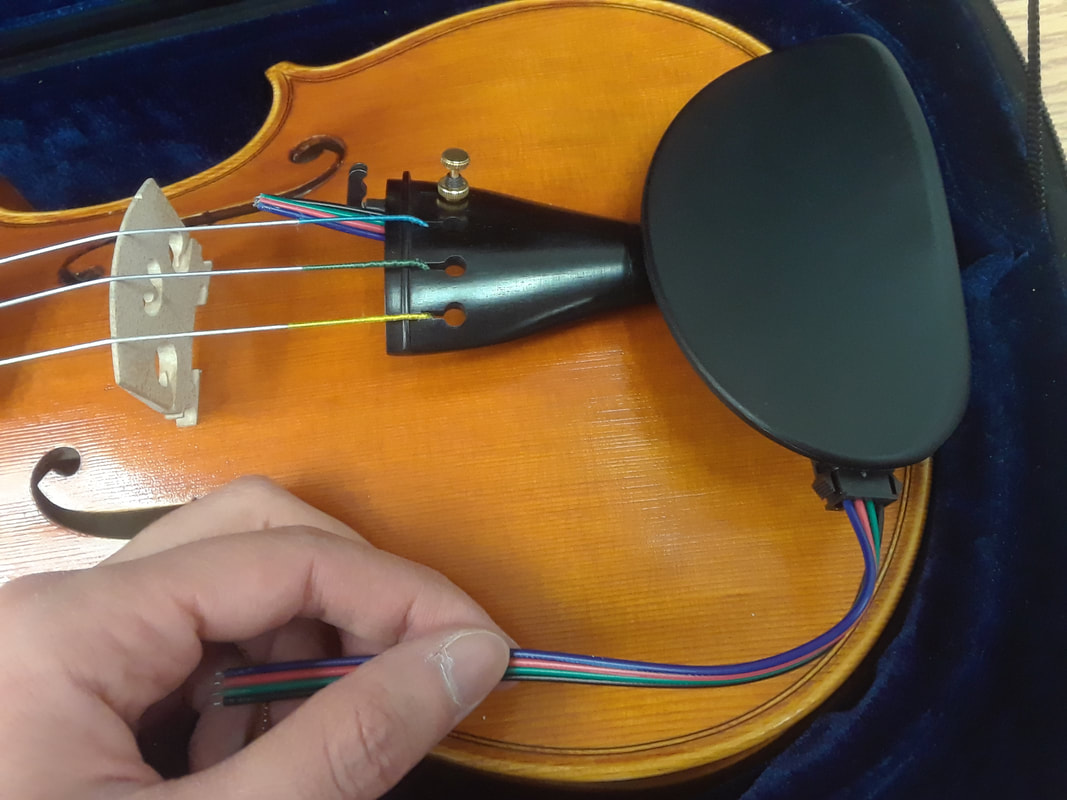
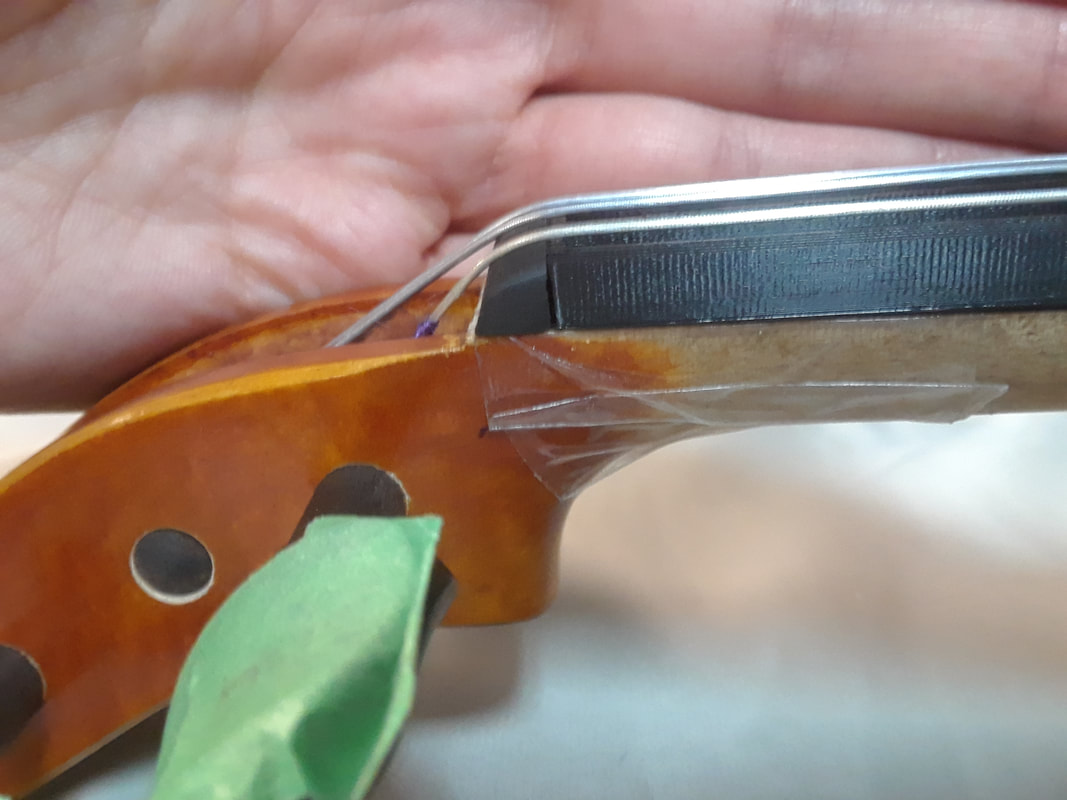
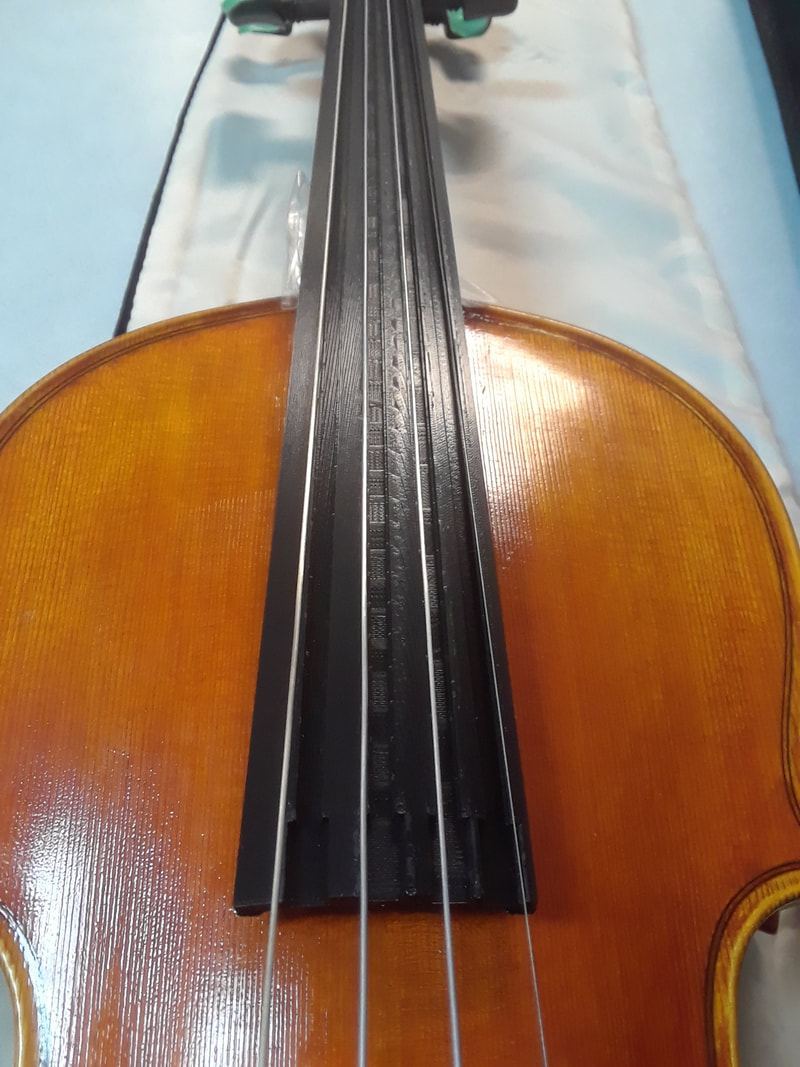
The ebony piece is attached and the PLA part is taped on with scotch double sided tape. I found that the ebony was a little too tall, so my G string was buzzing when I played forte. I can see when looking at the side that the bottom of the header piece is not flush with the bottom of the ebony piece. I think the fingerboard being flat underneath (without an undercurve) makes the sound a little tinny. Certain notes I’m also getting a strange buzzing. Maybe a wolf tone modulator will help to make it sound warmer?
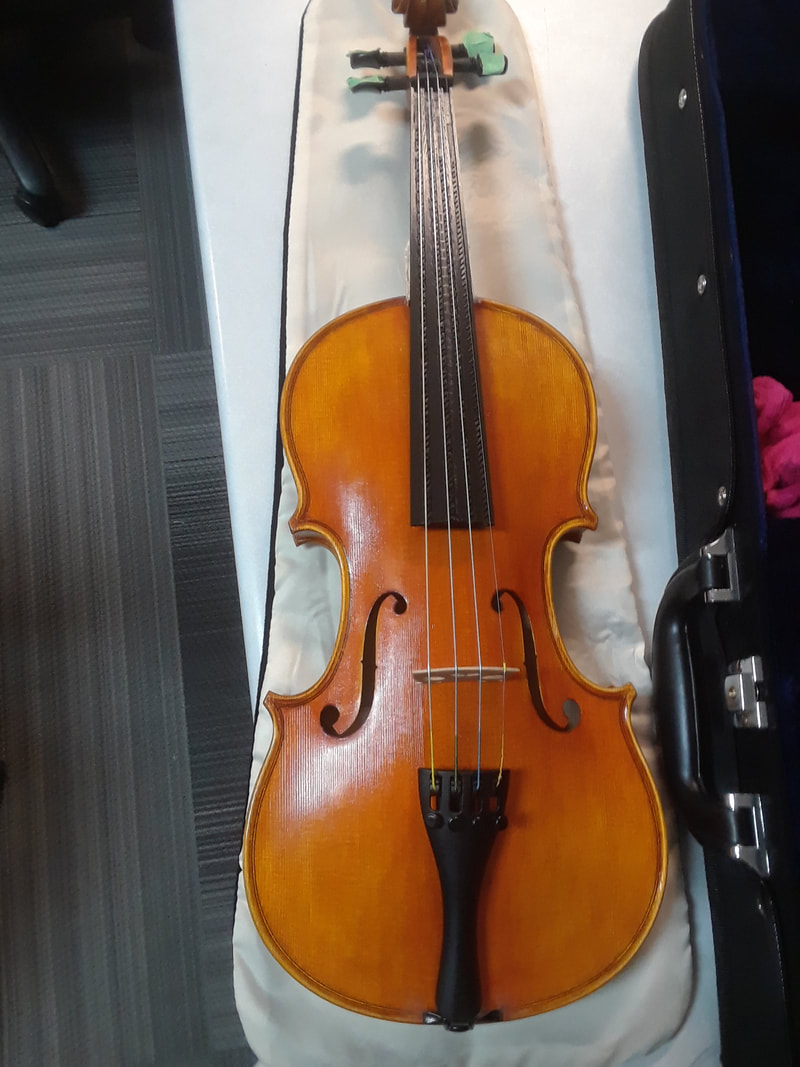
Pay no mind to my poor intonation...
Shhh... you never saw me practicing in the fablabx!
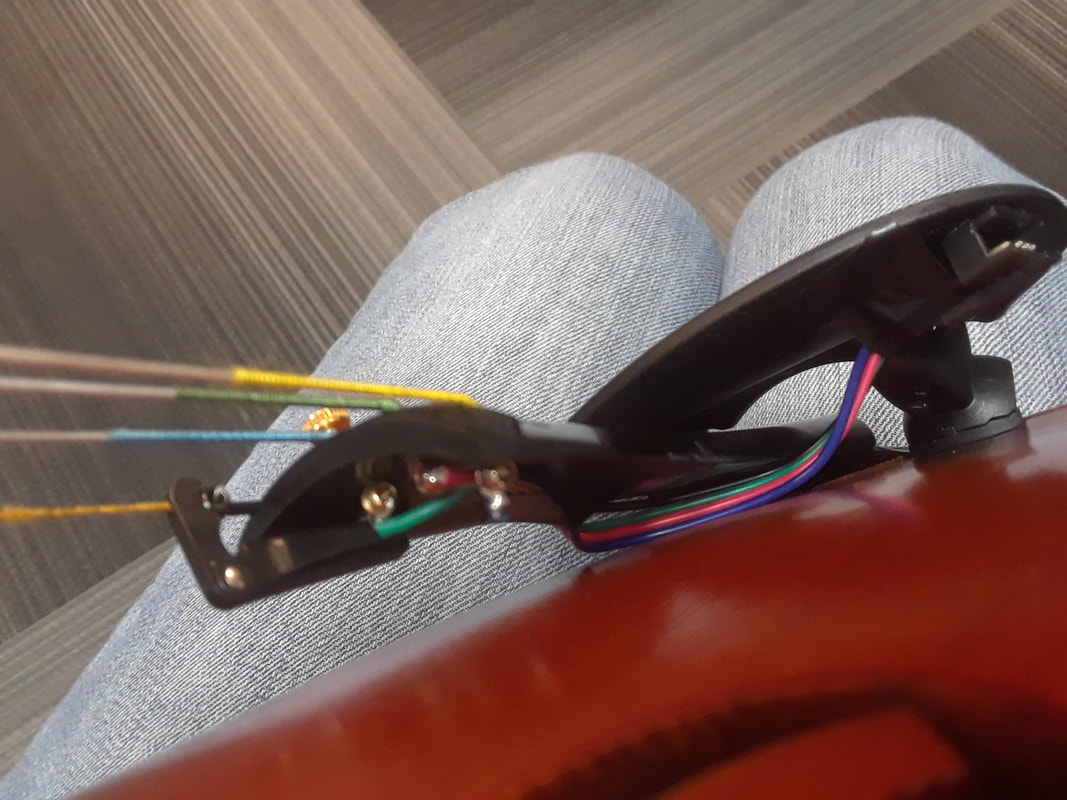
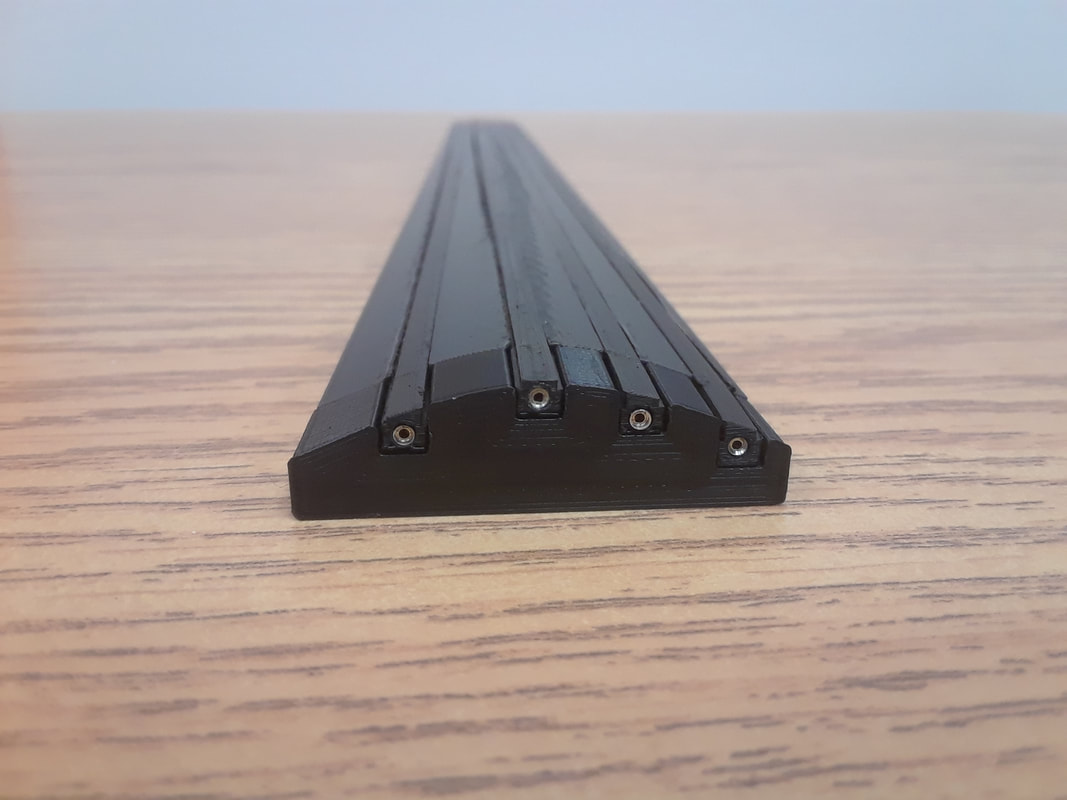
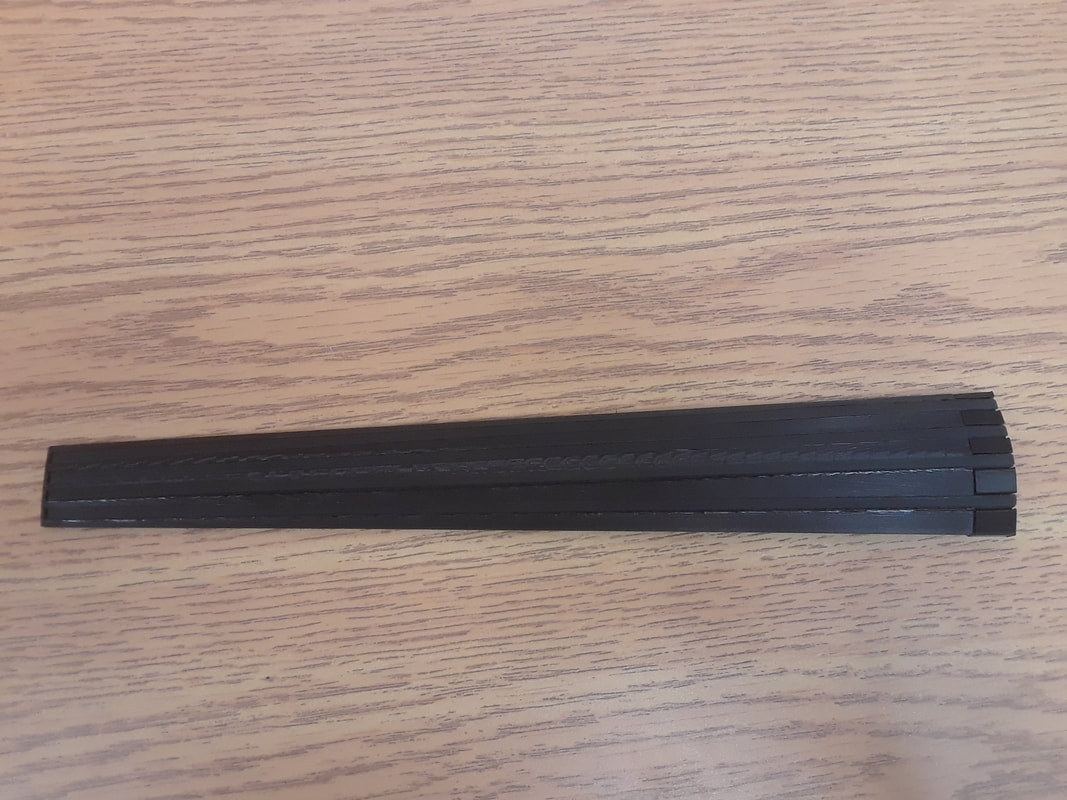
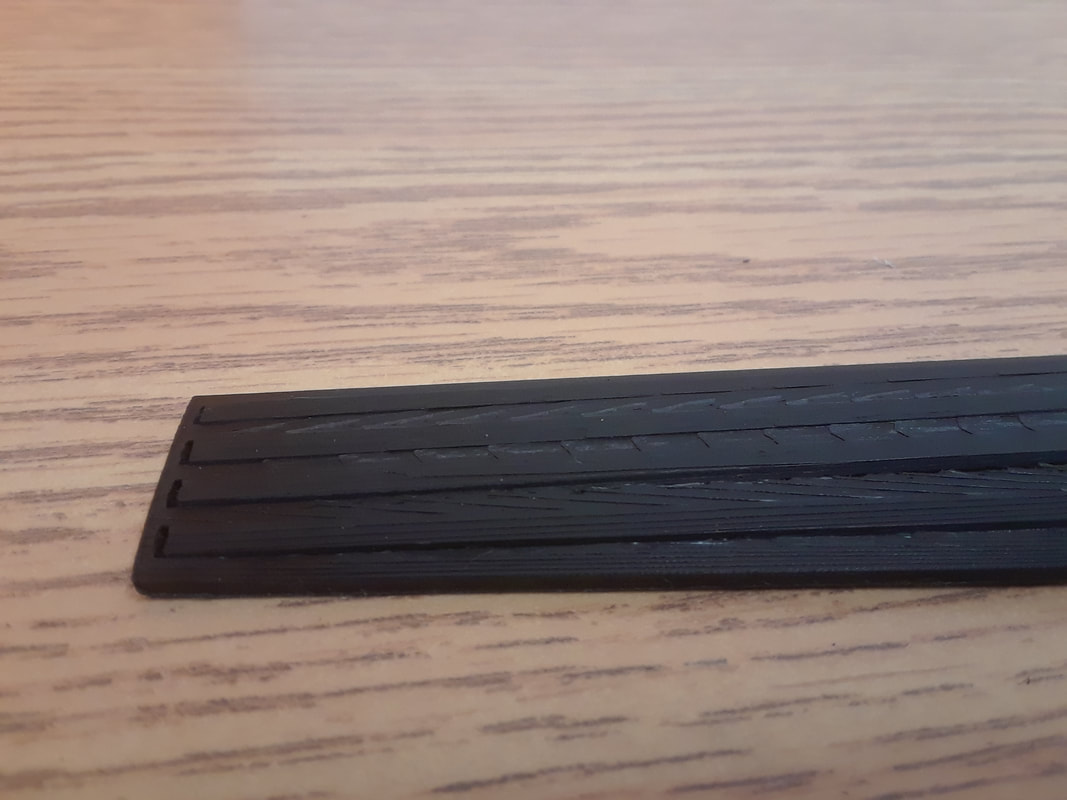
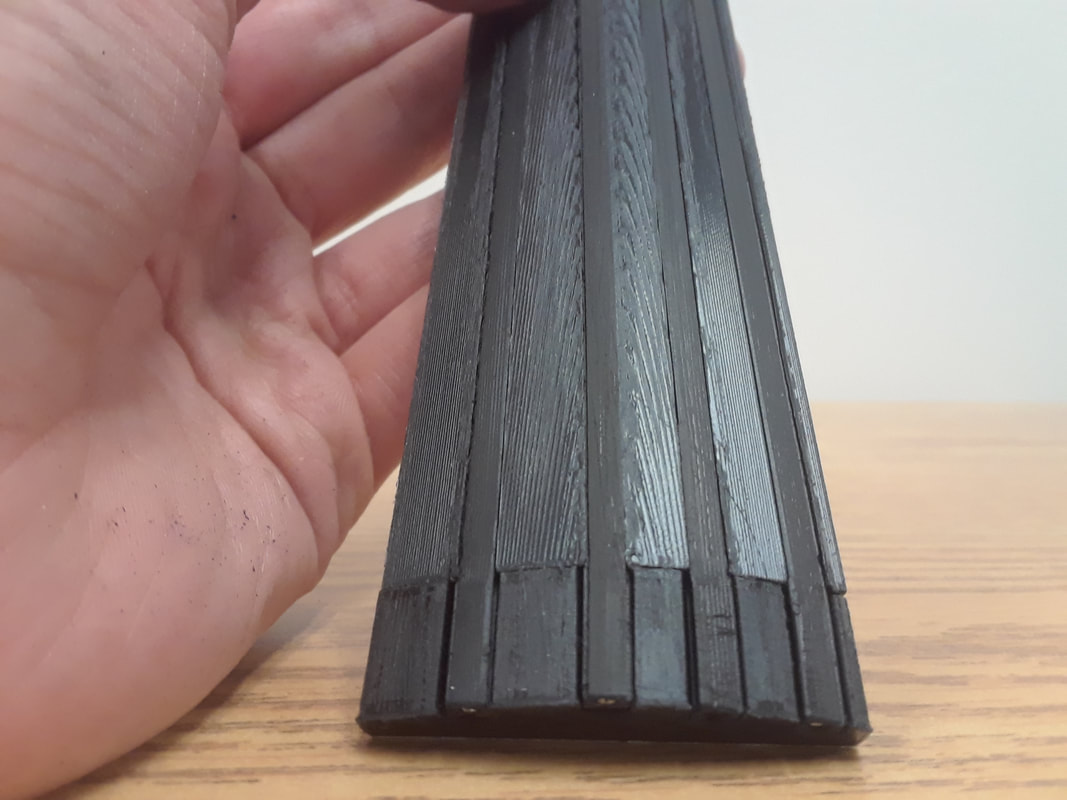
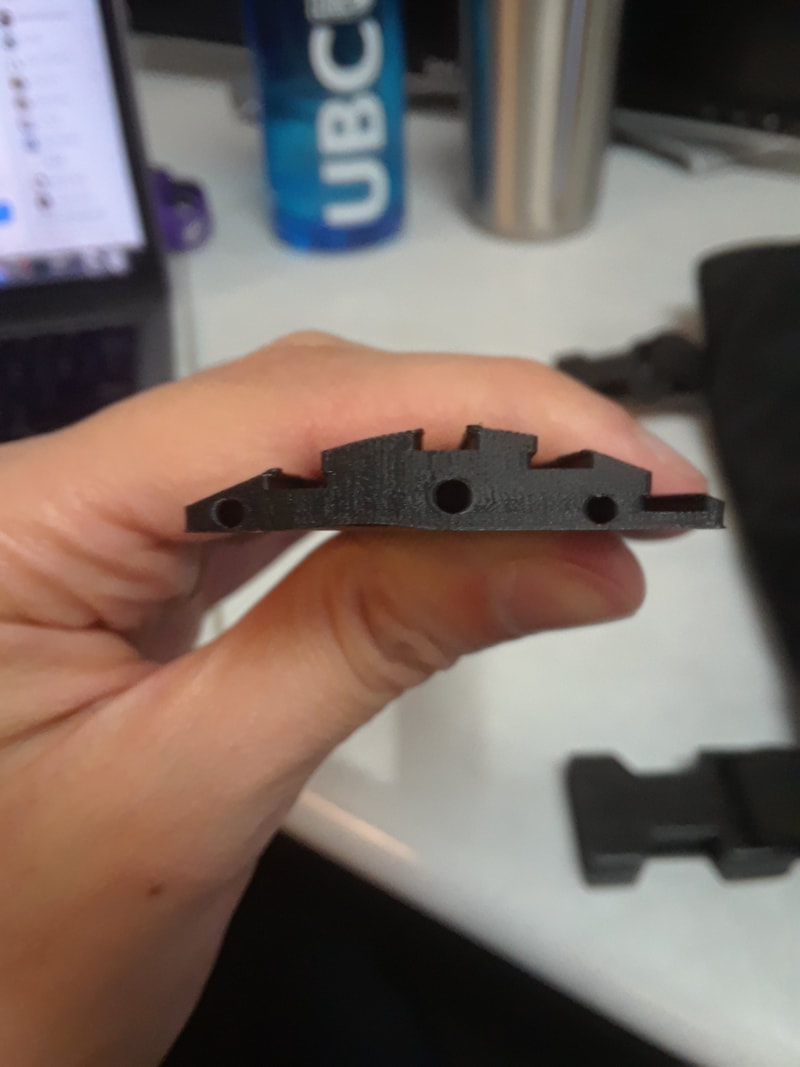
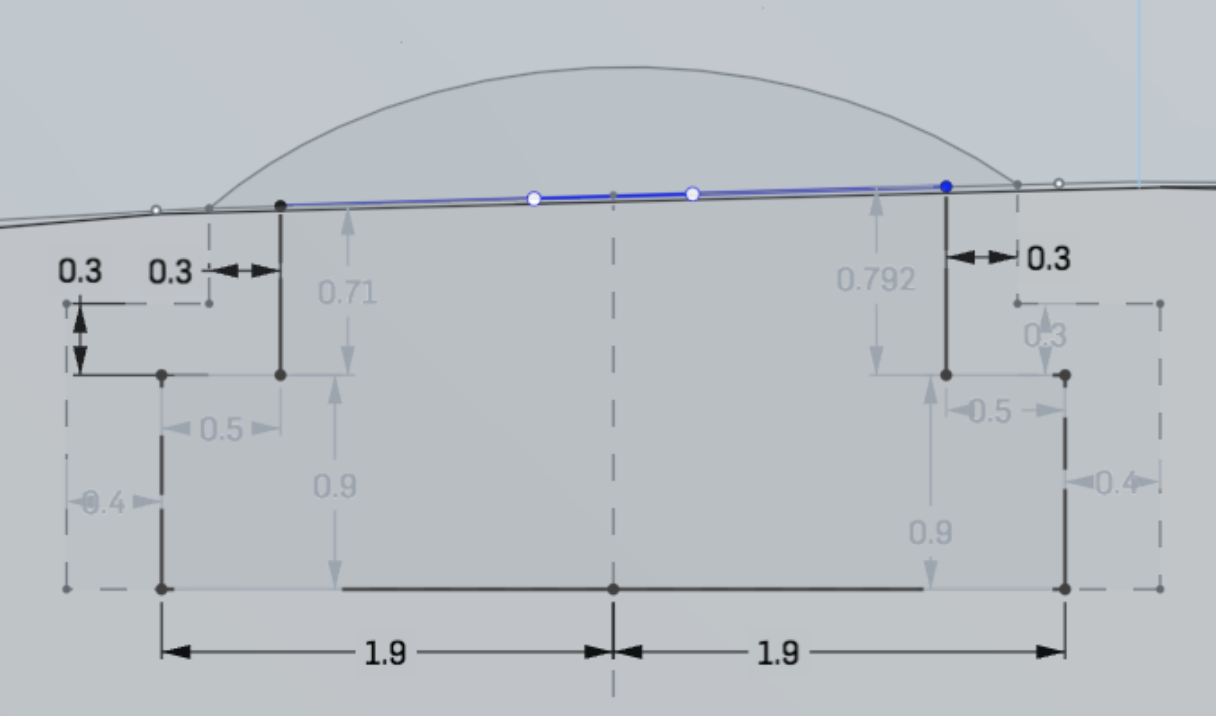
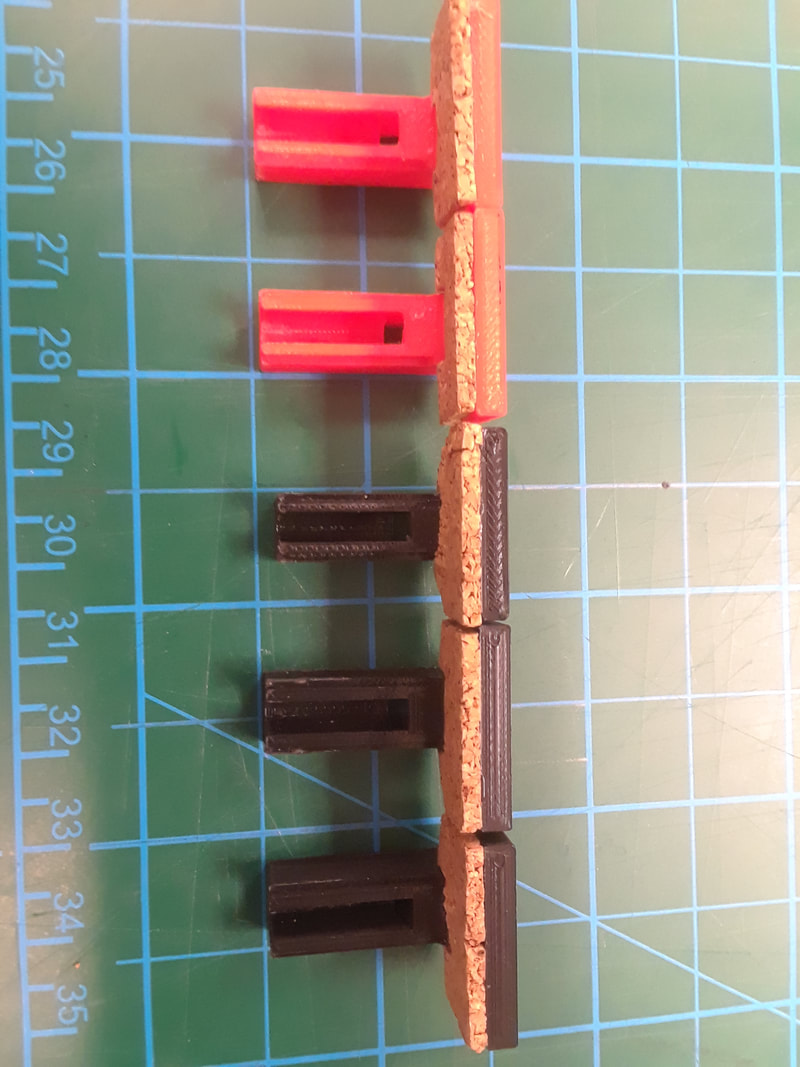
I tested the strips after sanding them and they barely worked. I then took them out of the fingerboard and flipped them over to test the other side. The un-sanded side still worked fine. So, lesson learnt, to not sand the side of conductive PLA that needs to be conductive! I ended up re-printing all of my strips… again. I also sanded the sides of them so that they can fit into the slots, and that was fine, just as long as I didn’t sand the surface. Here are the results for the re-printed strips: 5_GStrip.stl 20MW Close: 0 Mid: 0.01 End: 0.01 2MW Close: 0.002 Mid: 0.007 End: 0.011 200KW Close: 2.9 Mid: 6.4 End: 11.0 20KW Close: 2.19 Mid: 6.67 End: 10.89 2kW: 0L 5_DStrip.stl I noticed this one is a bit more jittery at the 20k setting at the far nut end. 20MW Close: 0 Mid: 0.01 End:0.01 2MW Close: 0.002 Mid: 0.009 End: 0.014 200KW Close: 1.7 Mid: 7.4 End: 12.5 20KW Close: 1.97 Mid: 8.25 End: 16.7 2kW: 0L 5_AStrip.stl 20MW Close: 0 Mid: 0 End: 0.01 2MW Close: 0.002 Mid: 0.01 End: 0.012 200KW Close: 1.8 Mid: 9.5 End: 13.4 20KW Close: 1.64 Mid: 6.63 End: 12.13 2kW: 0L 5_EStrip.stl 20k setting, starting at the middle is a bit jittery. Nut end isn’t too bad though. 20MW Close: 0 Mid: 0 End:0.01 2MW Close: 0.003 Mid: 0.006 End: 0.013 200KW Close: 3.0 Mid: 6.4 End: 11.2 20KW Close: 3.07 Mid: 7.55 End: 10.49 2kW: 0L  I finally finished the first ebony method fingerboard! Hopefully I won’t do anything to mess it up… I made the header holes tighter, so they don’t need glue to stay in. Just need to be extra careful when unplugging them that they don’t get pulled out. I sanded the top so that the strips are flush with the surface. I did a few things. First was the JST connectors arrived, so I figured out where it should go for the strings. I didn't solder them yet though. Second was even more troubleshooting issues with the strips… I spent the past week or so focusing on mechanical issues rather than electrical. I’ve been printing lots of strips because of it, but not testing them. Now I think I have figured out a good relationship between the strips and the fingerboard, so I am testing the resistance again. 4Ebony_DStrip.stl One problem is that superglue insulates the header. Too much glue and I lose the connection. I think I developed a way to get it right, but only after accidentally messing up the D and A strips. I tried soaking them in rubbing alcohol and in nail polish remover, it didn’t help. My solution was to first take a soldering iron and press down on the header for about 5 sec so it would sink deeper into the hole. Then I made a cup of hot water and dipped the end into the cup. After that I squeezed the edges so that the header would be wedged in. I added superglue to the outside in order to provide support to the edges. It doesn’t look pretty, but it works. Then… the above method only worked with the D strip and I ended up ruining all of the headers with superglue anyways... I adjusted the slot placement and chopped off the bottom half of the fingerboard. I also printed a second piece to hold the header ends. This way I am creating the full length of the fingerboard. I had to completely re-do the design of the strips in order for there to be enough room for them at the nut end. Before they were “I” shaped. Now they are shaped more like how my clamps fit together. I also have to print them with supports because the header end is now flat on the build plate and the rest of the strip is in the air. Not the most ideal way to print, but my tests from a long time ago proved that they can't be printed sideways without ruining the rails that keep the strip in place. These pictures are taken before the ebony base was ready. I just placed the prints on for the sake of measuring. Since printing the entire fingerboard was not working, Aaron had an idea to help make it stronger. I print only the top portion of the fingerboard, and he makes an ebony base. This means that the fingerboard will not have the under-curve, but at least it should be strong enough. We'll see how it affects the sound. This was his drawing. 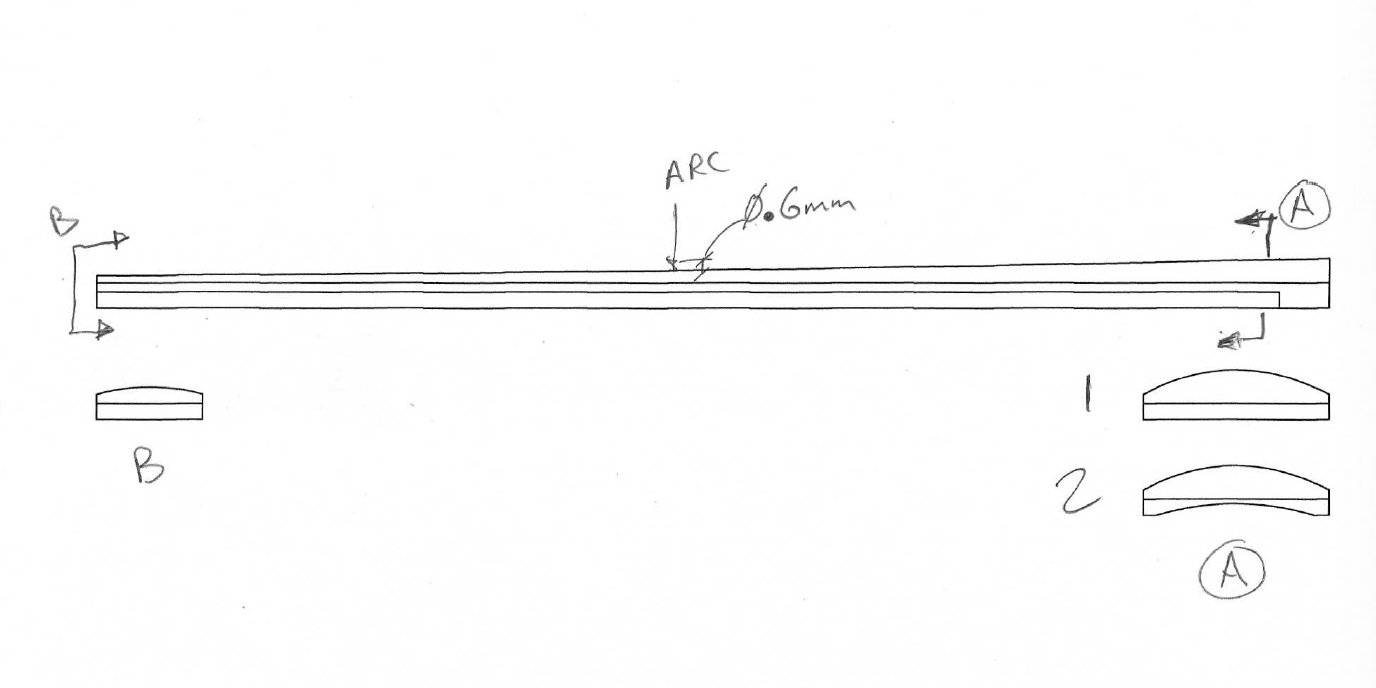 I’ve been printing parts for the Arduino case. The lipo battery I have is slightly smaller than the last one, so I had to make some adjustments to the dimensions of its box. The first time I printed it, it was a little bit too small. But I got it on the second try. There was something interesting I noticed about the clamps that I printed. They were all from the same file, but their lengths were ever so slightly different. I then realized that it must have had to do with which way they were oriented while printing, and gravity was affecting it.
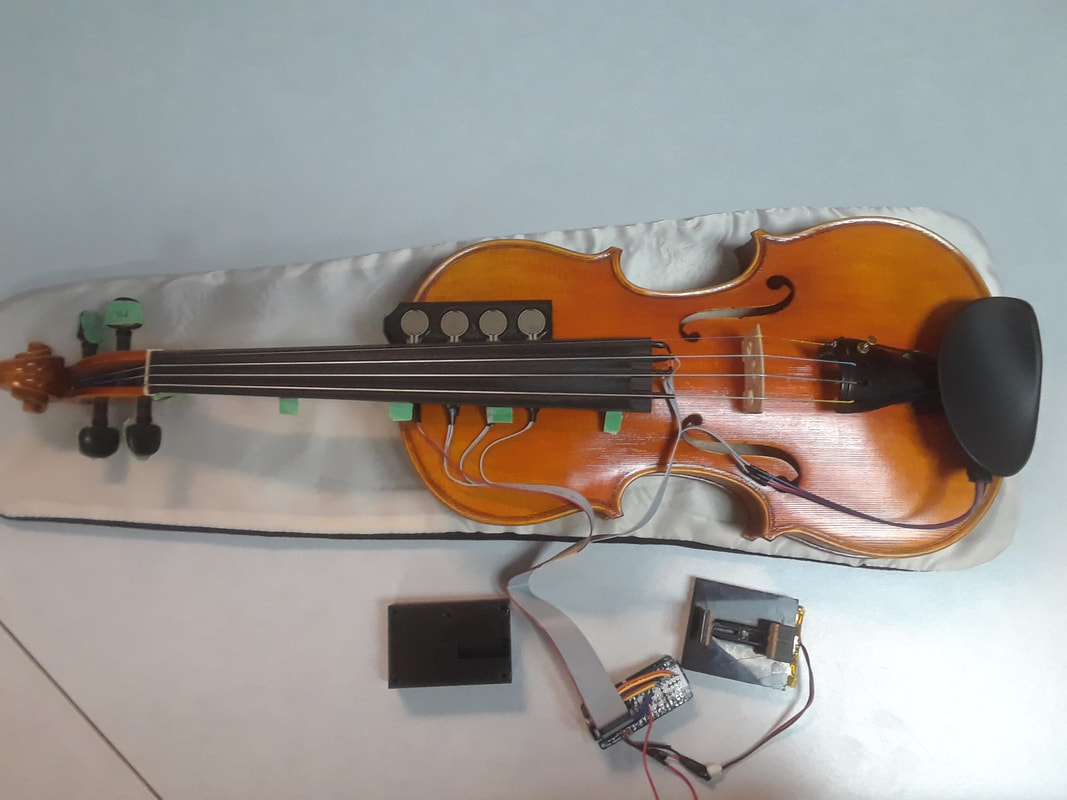
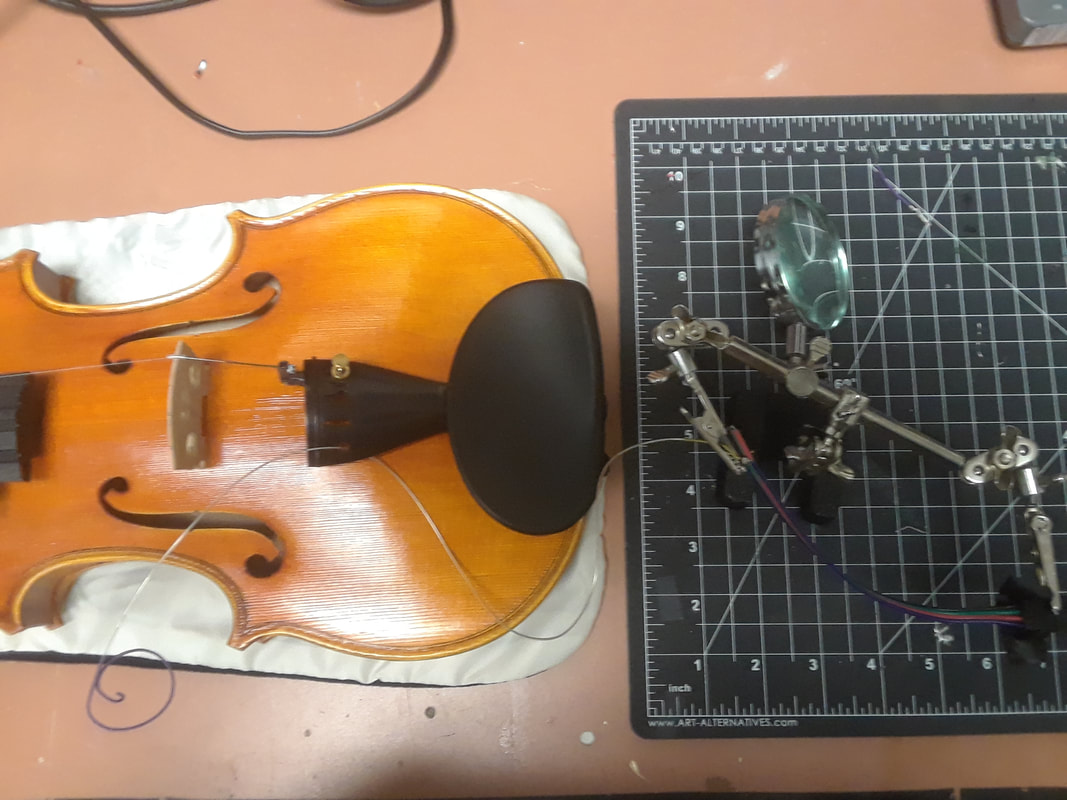
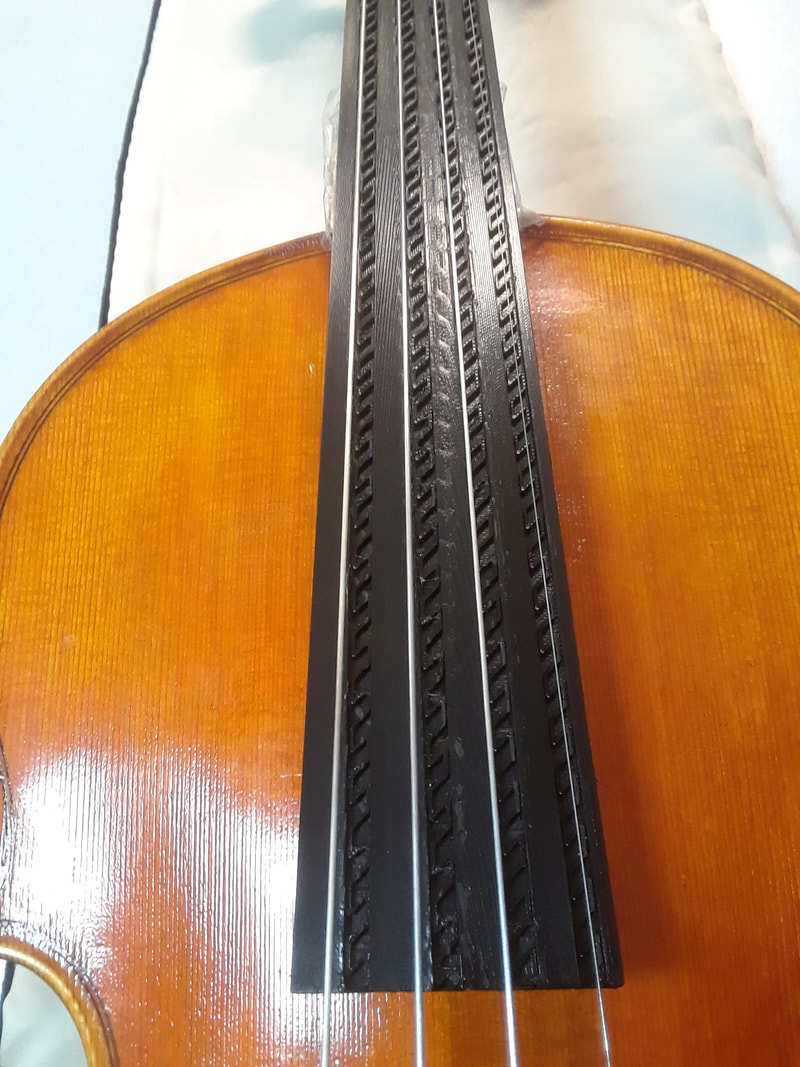
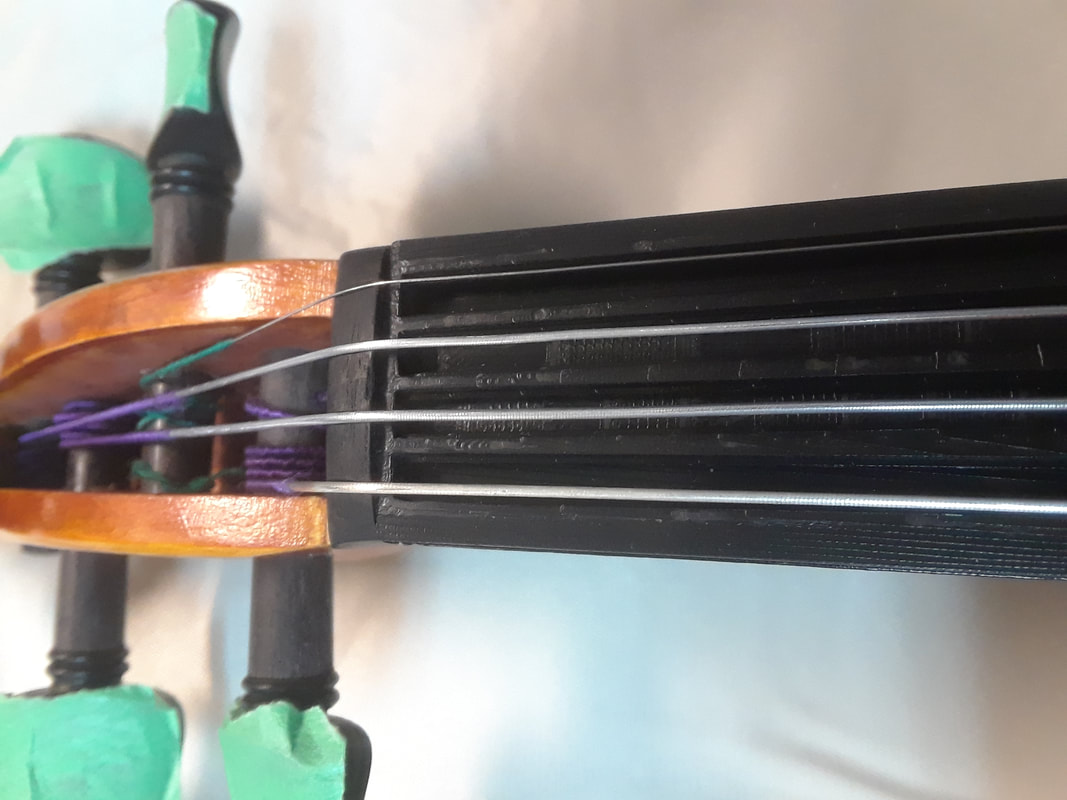
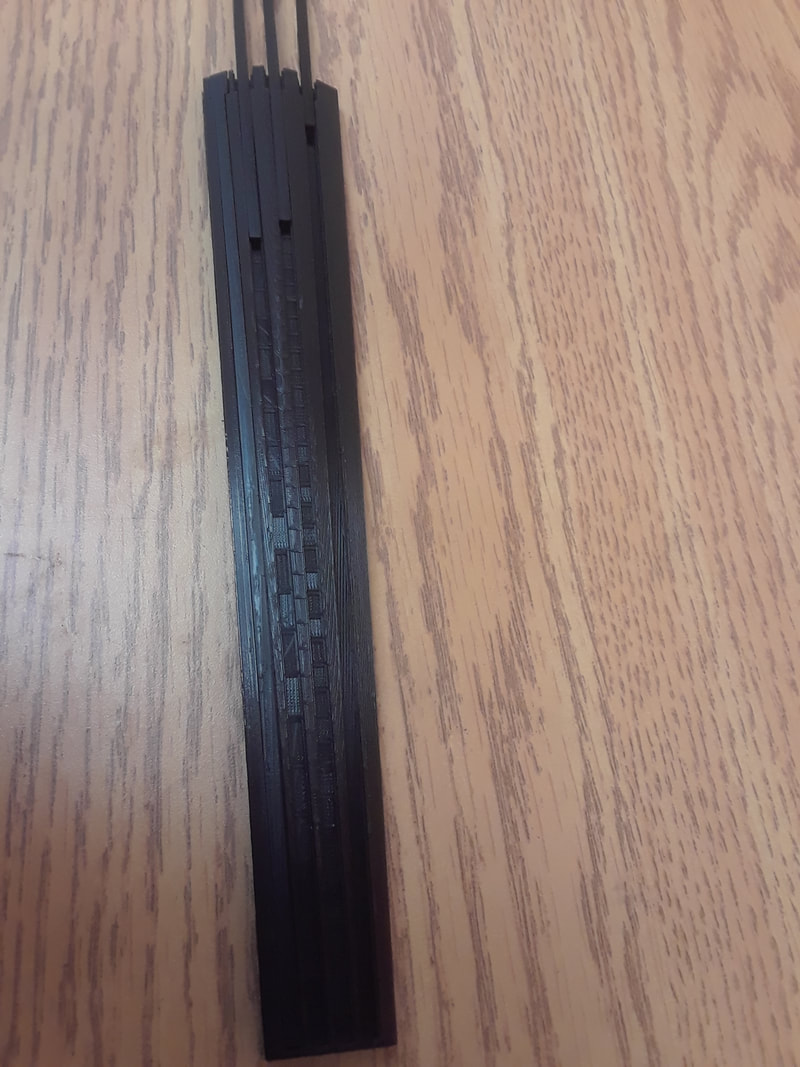
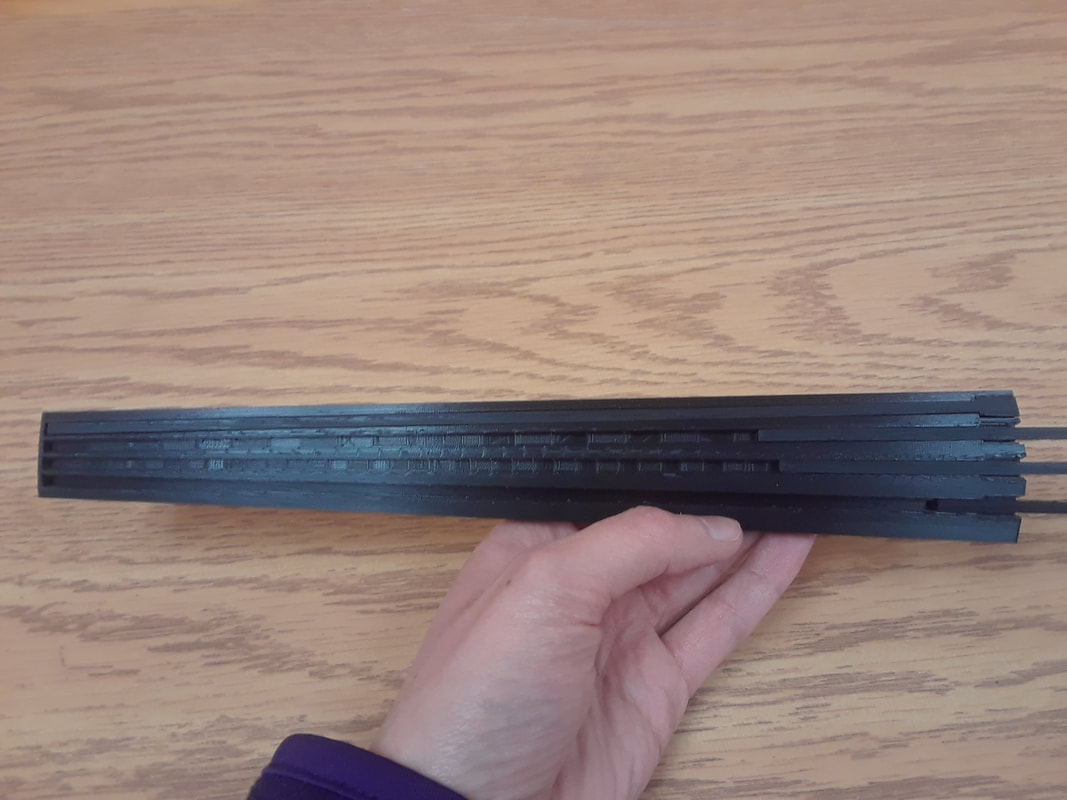
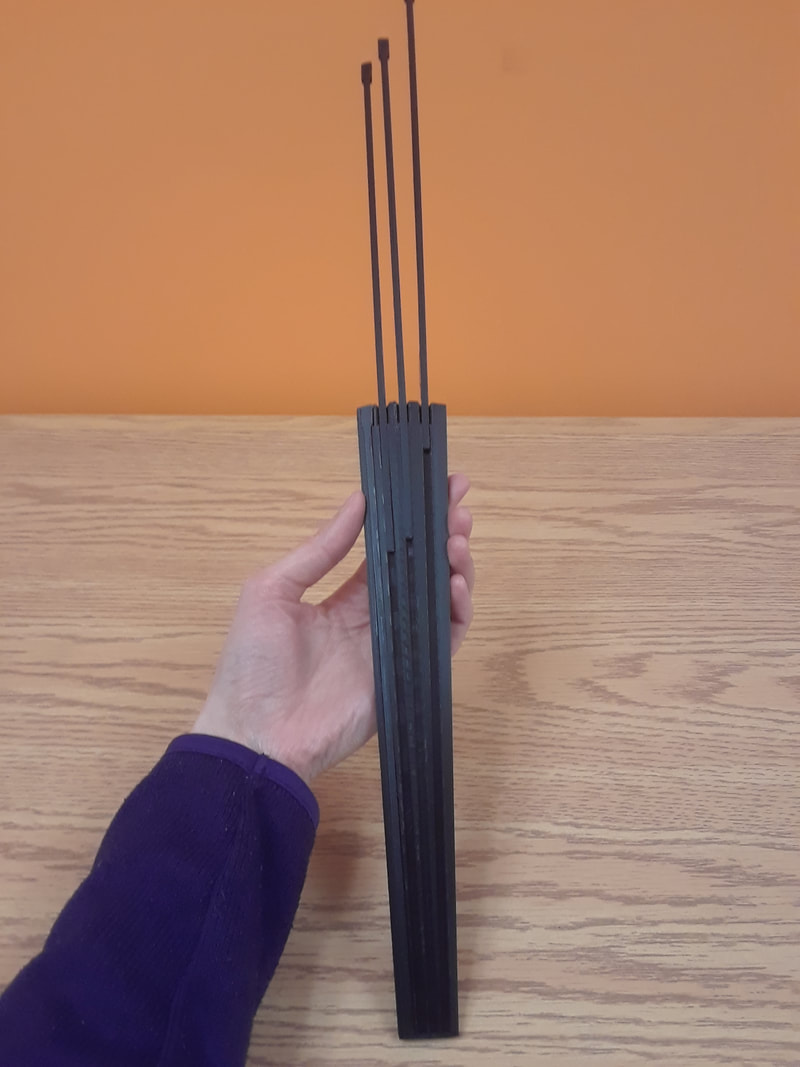
Even though the last fingerboard print wasn’t working, I put it on my violin in order to see how the outer dimensions fit, and how the slots line up under the strings. It was a little too tall on the nut end. The two outer slots should be moved over a bit. However, I discovered an even bigger problem: the fingerboard bends when playing in the high positions.
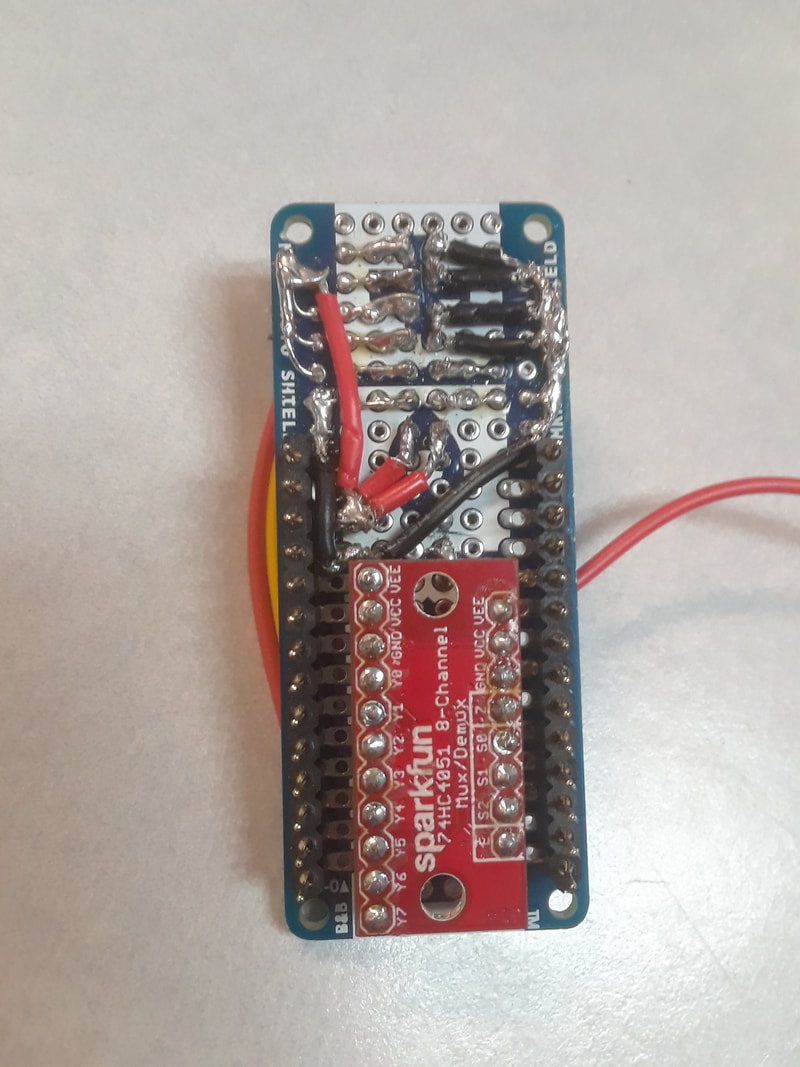
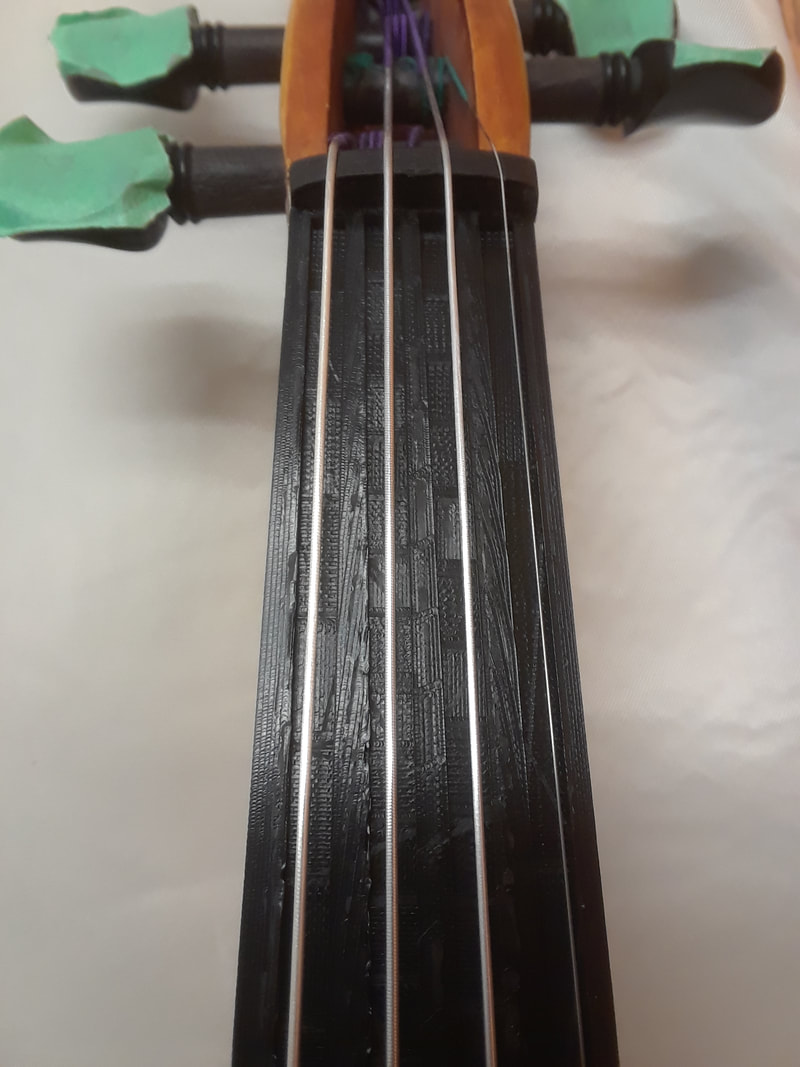
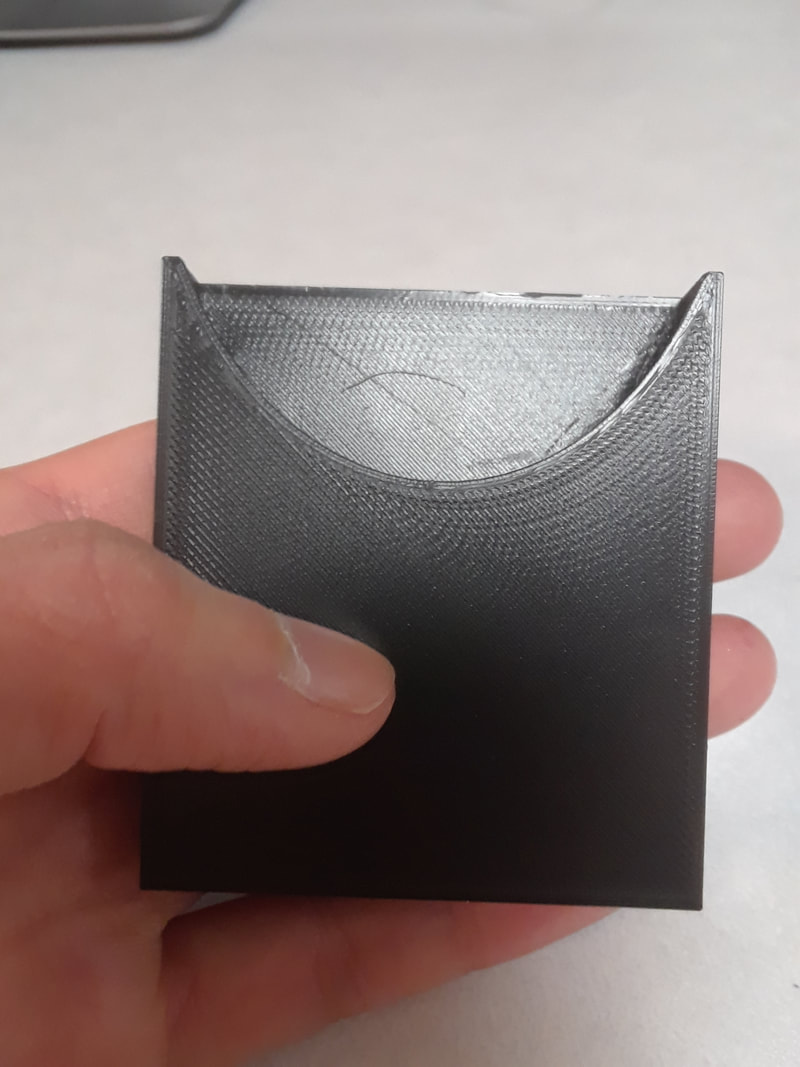
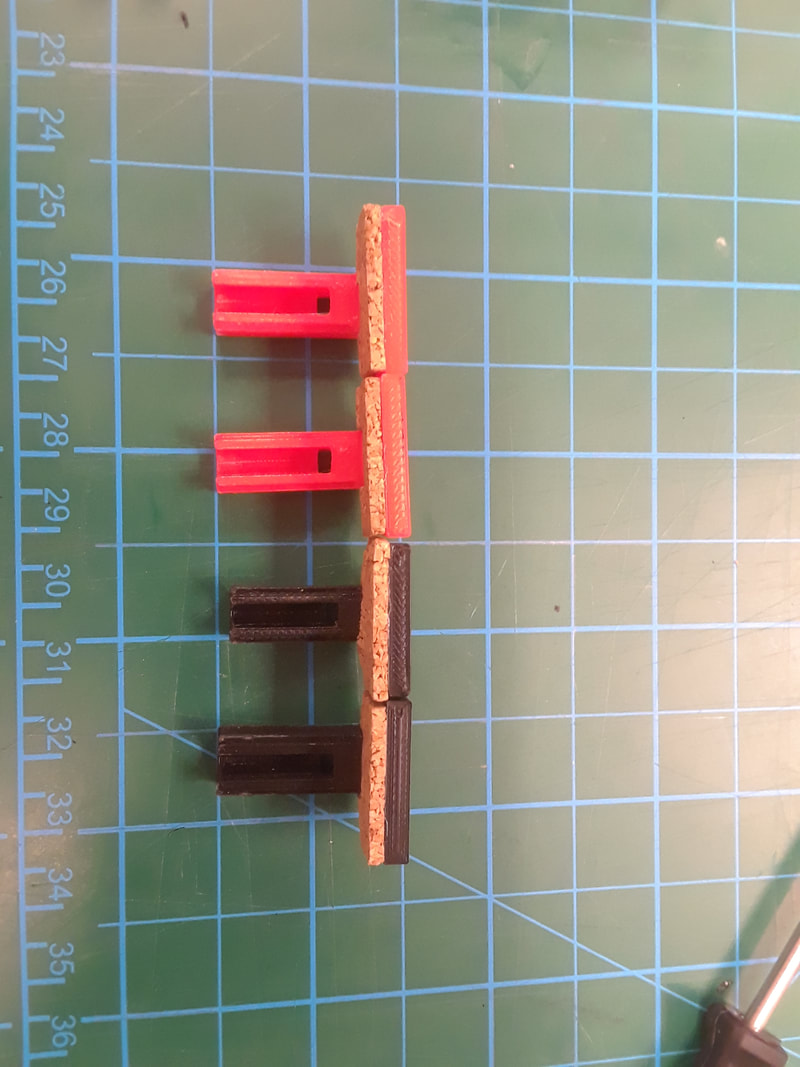
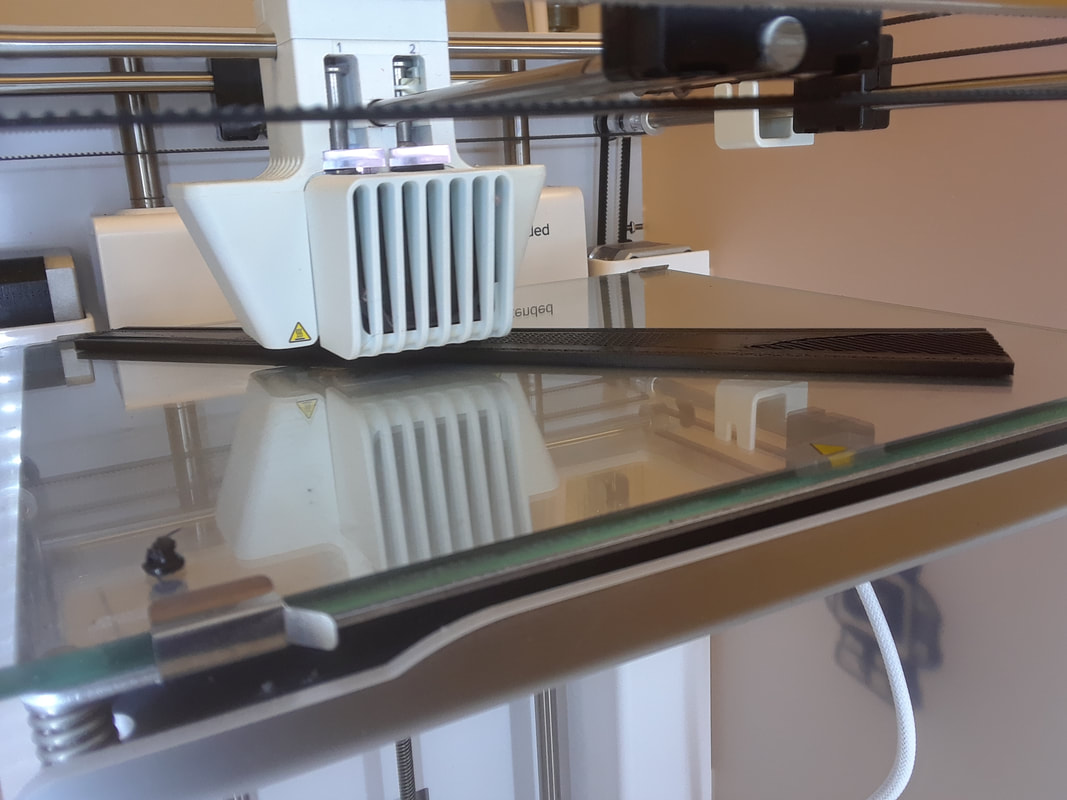
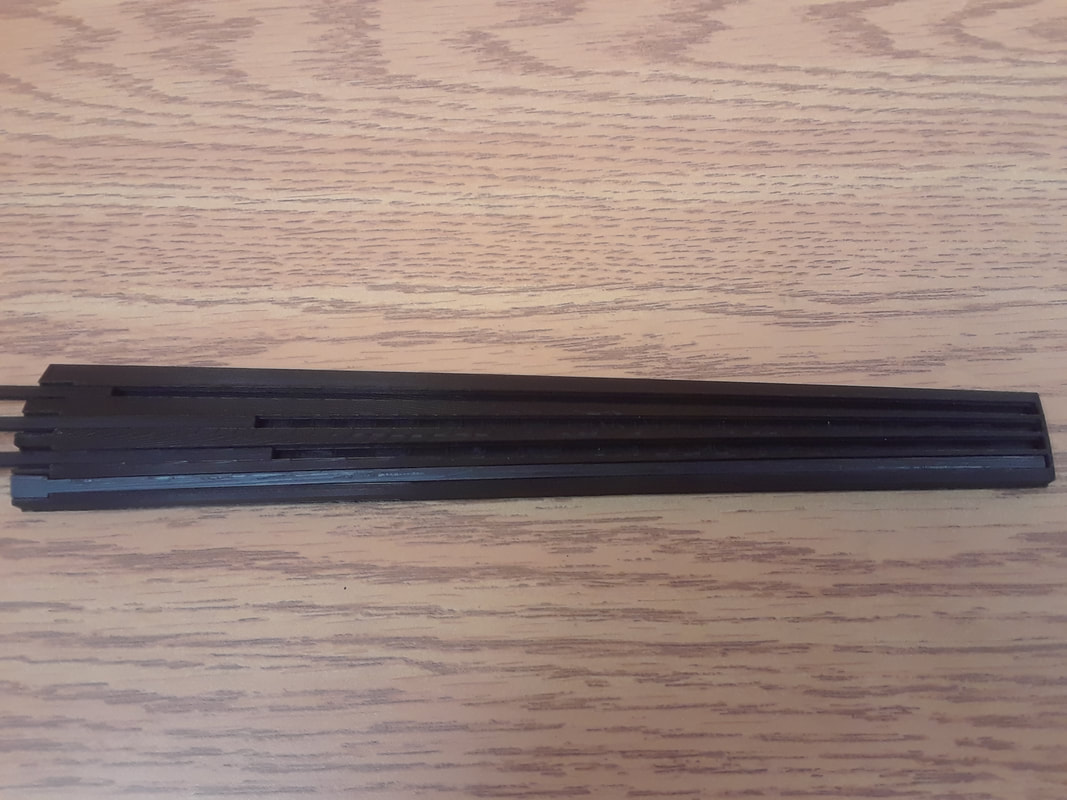
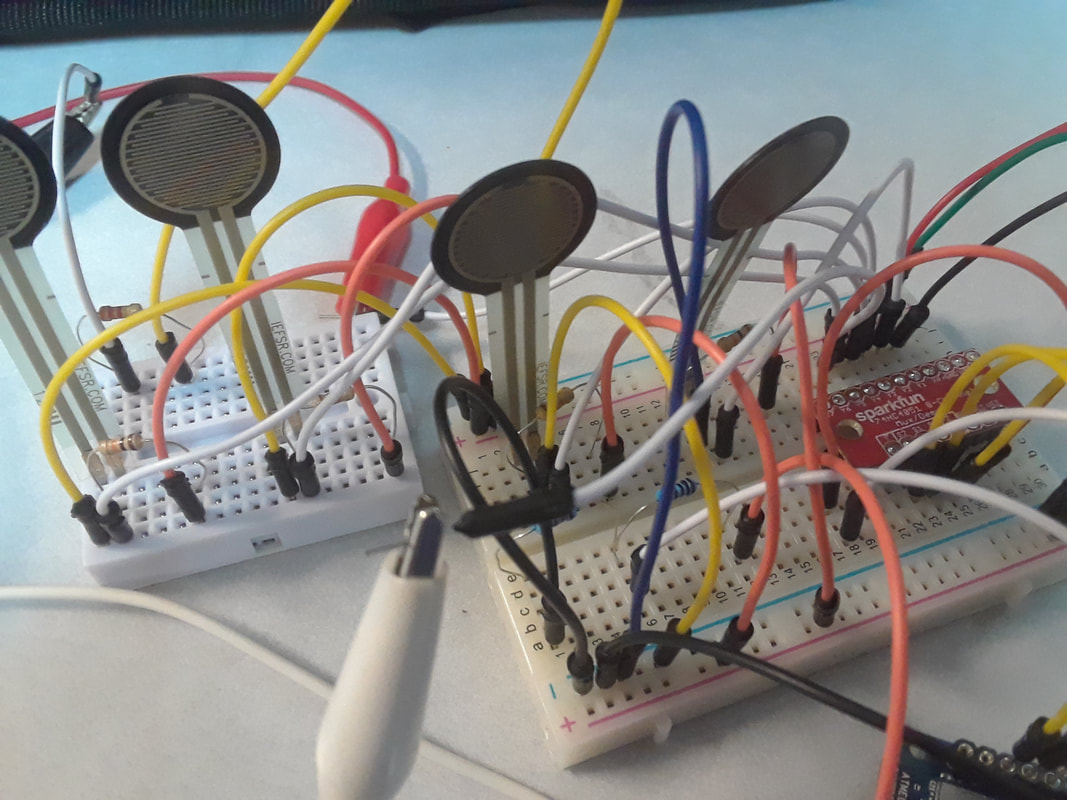
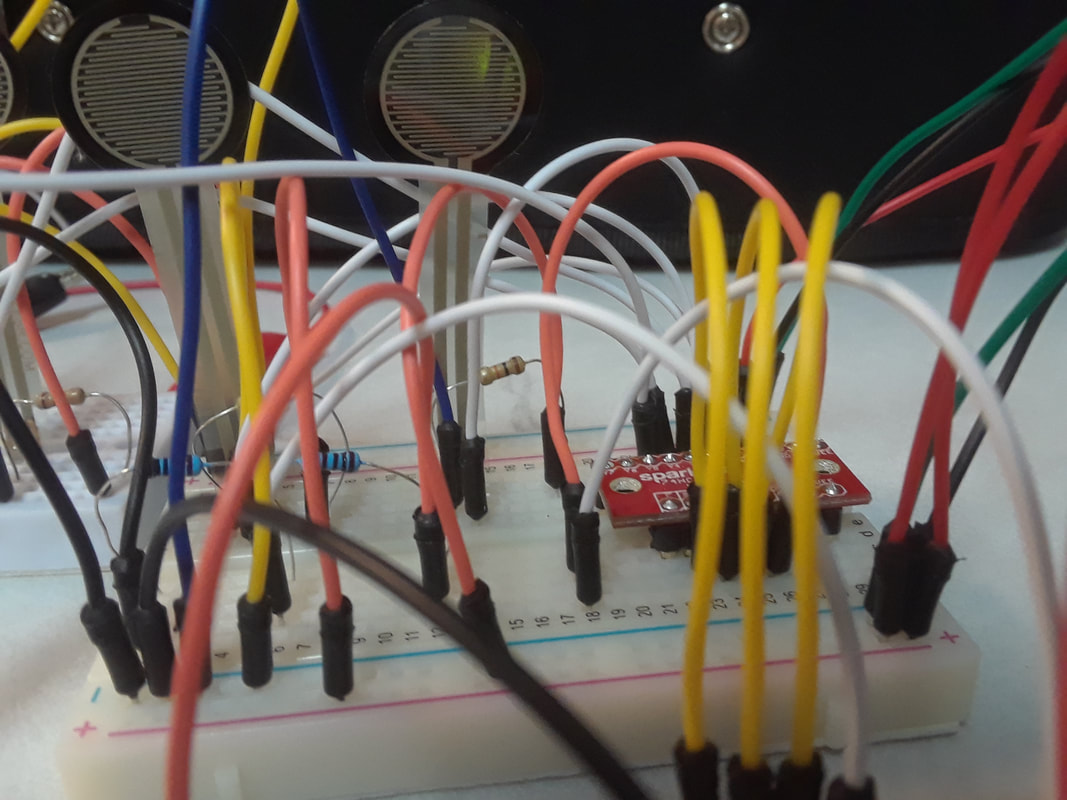
I made the length of the fingerboard slightly shorter in order to accommodate the smaller build plate of the Ultimaker. It curves a bit. Another problem is that 3 out of four strips don’t fit. It kind of looks like a Wolverine claw. I’m not sure why because they were all modelled with the same dimensions. Because of how the model curves on top of the fingerboard, it’s not perfectly smooth. I successfully figured out how to multiplex with the Sparkfun 8 Channel (74HC4051). My long breadboard is half dead, so I had to manage on a couple small ones. Printing the actual fingerboard strips are a bit more of a challenge than the test strips, because the top surface is curved. Layer height 0.1mm, Infill Density 70%, Pattern: Triangles.
EStrip_Short.stl E strip is on a bit of an angle, so I had to rotate it flat in Cura. The problem is, is that it is difficult to tell if it’s rotated properly or not. There is a bit of overhangs inside the tracks that need to be picked out. It’s also a little on the rough side as it gets closer to the nut end, but not too bad. The header hole is perfect. The resistance fluctuates a lot at the ends. 20MW Close: 0 Mid: 0 End:0 2MW Close: 0.002 Mid: 0.006 End: 0.009 200KW Close: 1.7 Mid: 5.0 End: 8.3 20KW Close: 1.46 Mid: 5.3 End: 9.8 2kW: 0L GStrip_Short.stl Turned out similarly to the E. I think the overhangs are a bit better though. 20MW Close: 0 Mid: 0 End:0 2MW Close: 0.001 Mid: 0.004 End: 0.07 200KW Close: 2.2 Mid: 3.9 End: 6.8 20KW Close: 1.45 Mid: 4.31 End: 6.91 2kW: 0L DStrip_Short.stl This is better than the G and E strips. Probably because the bottom is flatter. It was made with support checked off. 20MW Close: 0 Mid: 0 End:0.01 2MW Close: 0.003 Mid: 0.005 End: 0.009 200KW Close: 3.5 Mid: 5.7 End: 8.7 20KW Close: 1.78 Mid: 5.33 End: 9.25 2kW: 0L AStrip_Short.stl First time I printed, it turned out ok. However, the nut end was peeling off the build plate and it not useable. I’ll try again with it flipped over. The flipped over orientation was fine. I don’t know what went wrong before, because I printed all the other strips this way before. I tested the 2nd print, not the first print. 20MW Close: 0 Mid: 0 End:0 2MW Close: 0.001 Mid: 0.003 End: 0.009 200KW Close: 1.5 Mid: 4.0 End: 8.3 20KW Close: 1.36 Mid: 4.27 End: 8.32 2kW: 0L |
Welcome to the TRAVIS blog!If you would like to see a summary of my work, please click here. Archives
May 2022
Categories


|


 RSS Feed
