|
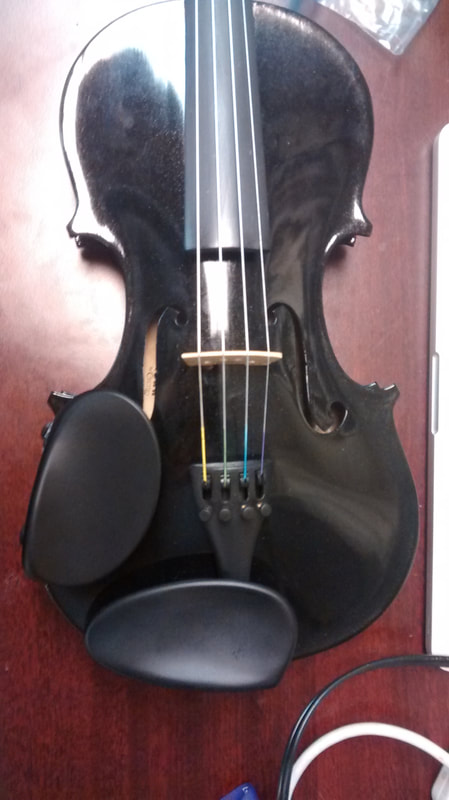
I had used a glue gun to glue the post to my chin rest, but I knew it would be a temporary fix. I had purchased plastic model cement, which I had hoped to be better. However, it does not like whatever material the chin rest is made out of. Dr. Bob had brought in a box which he thinks the Lilypad and circuit board will all fit into. After seeing it, I got the idea that instead of attaching the box to the chin rest, I could attach the posts of the chin rest directly to the box. This will also allow me to place it where I had originally intended in the upper left side. I also played around with ways to use the soft pot to control various sound fx. One in particular is the [sogs~] object. I'm not sure if I like it though. 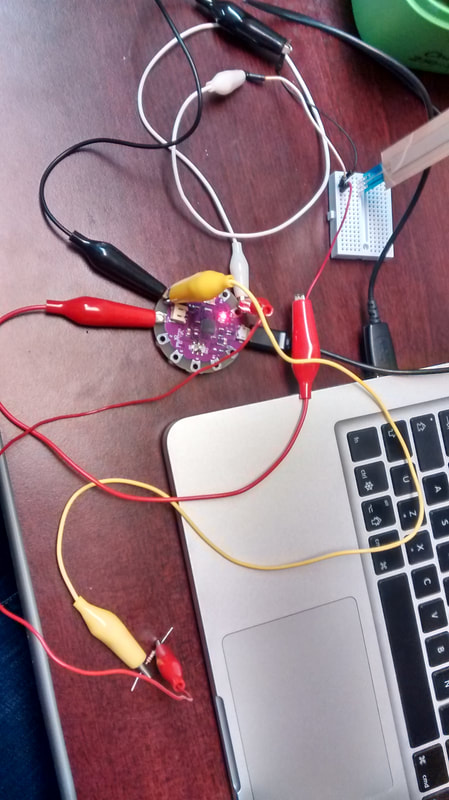
0 Comments
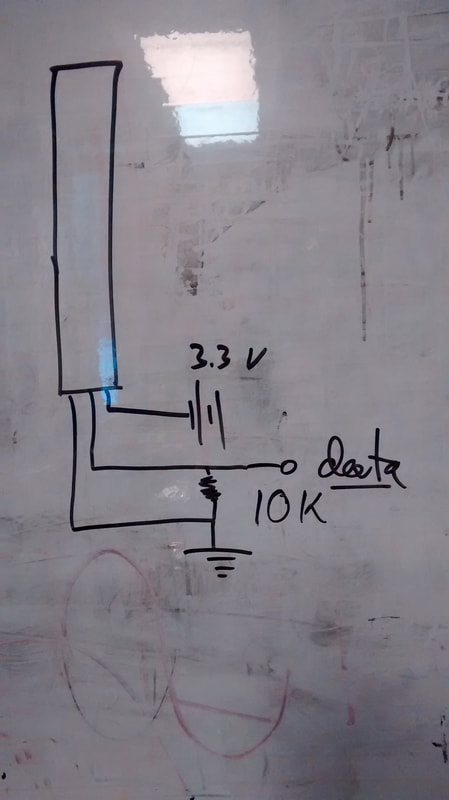
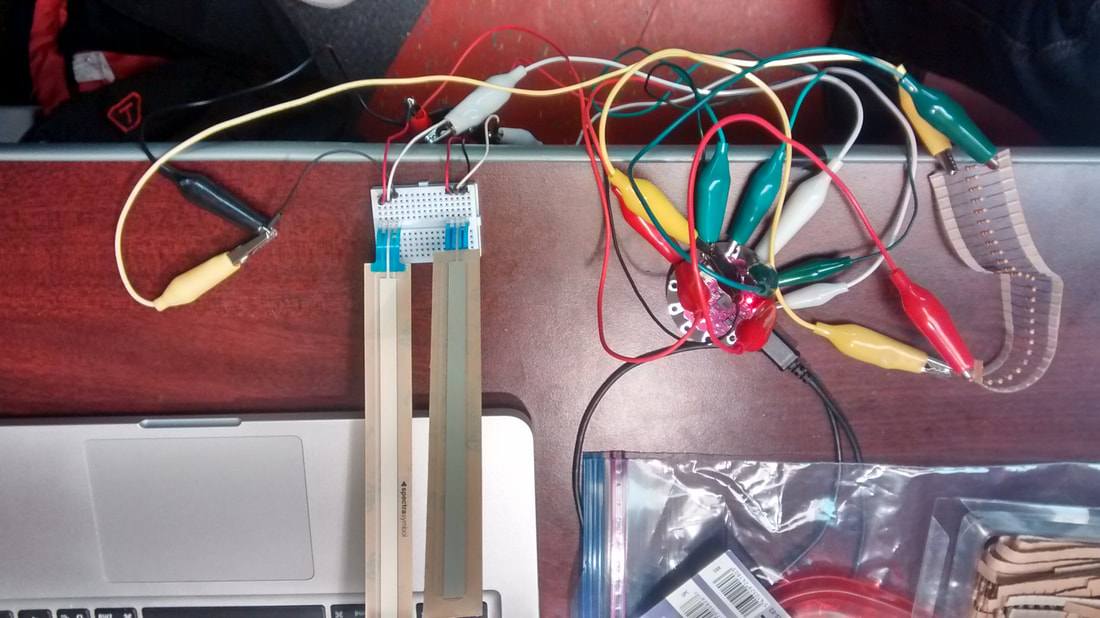
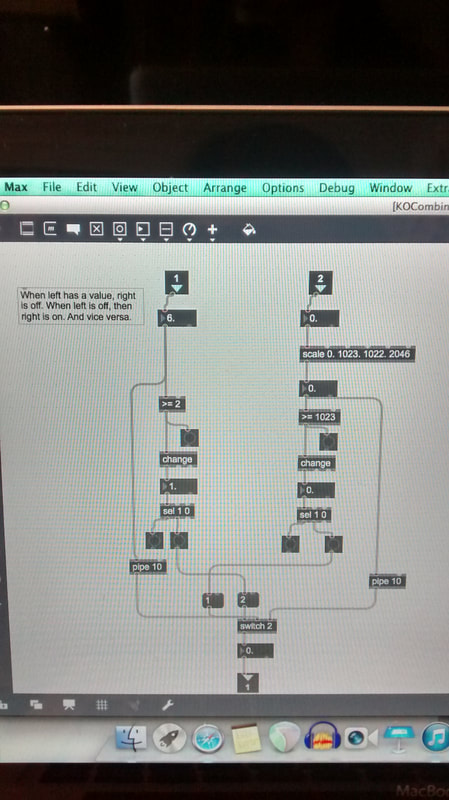
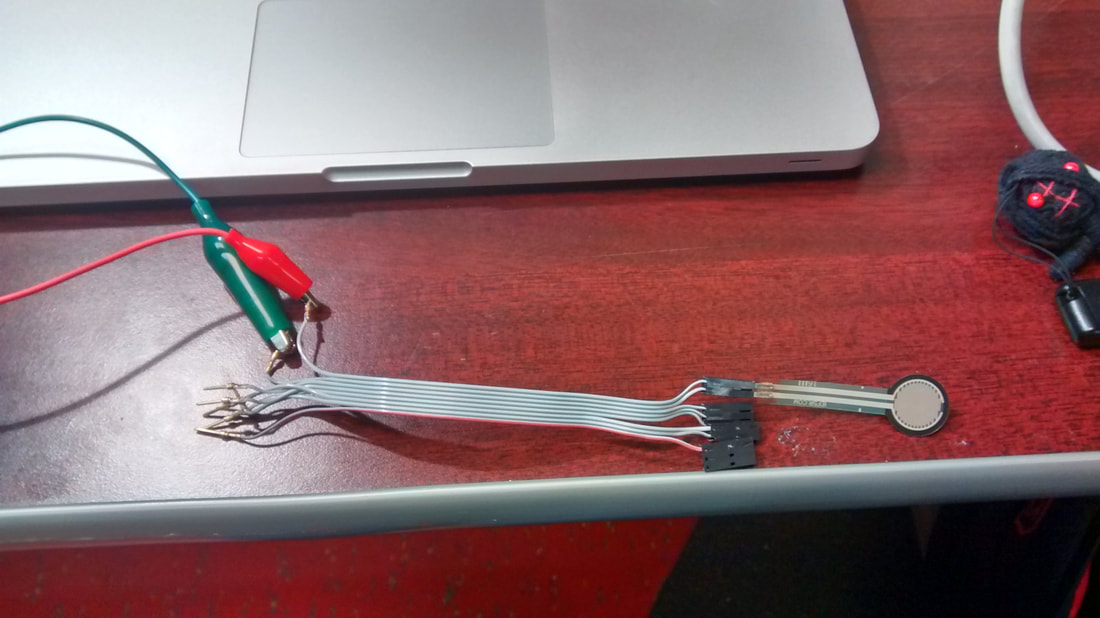
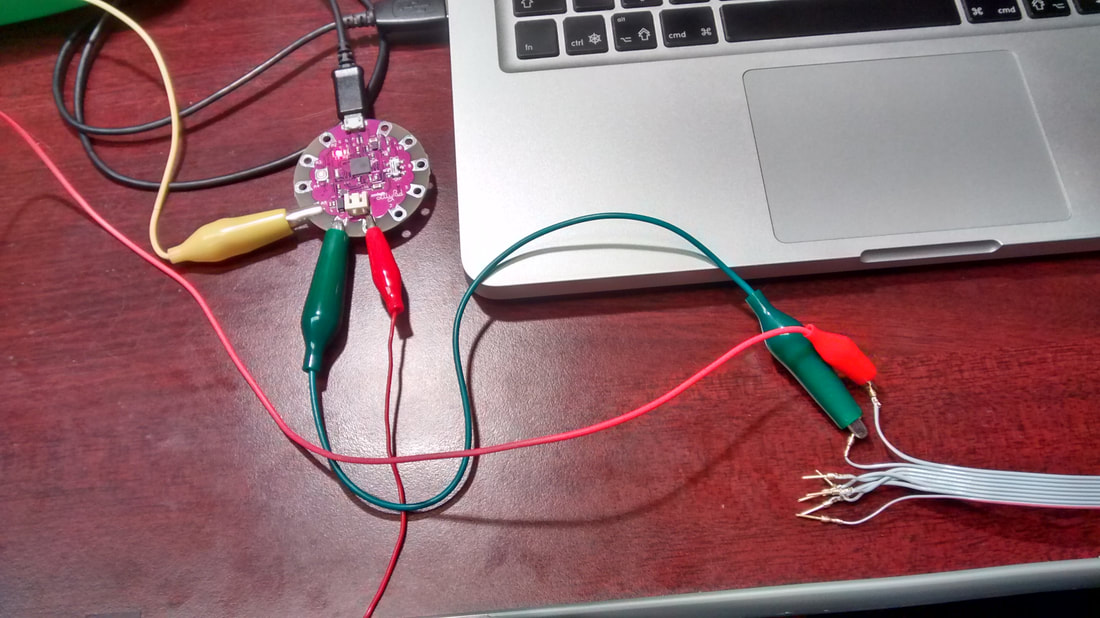
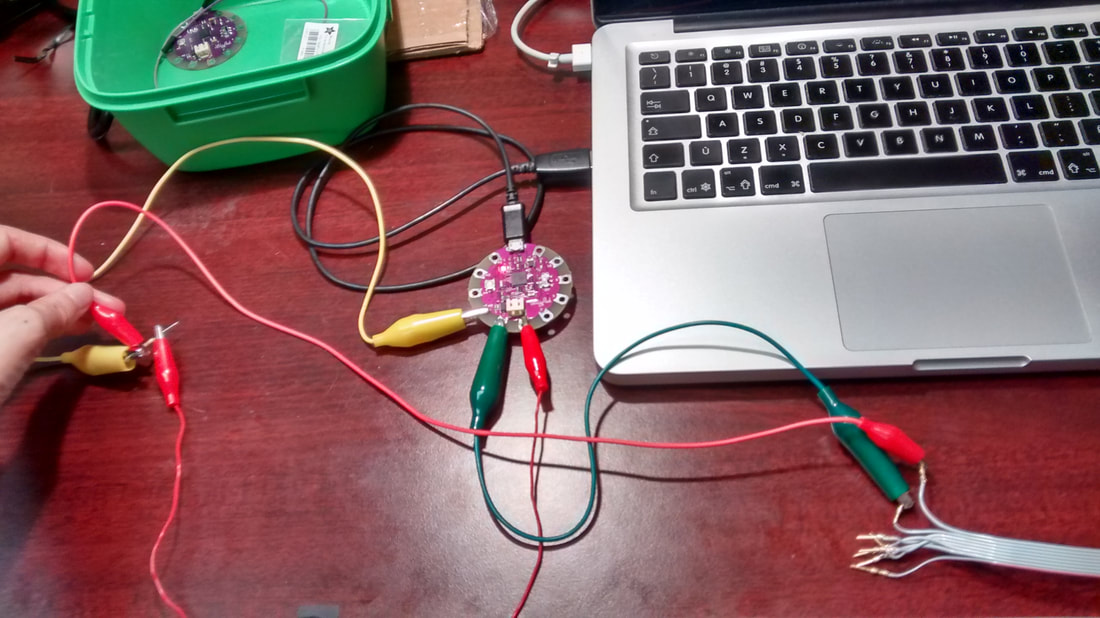
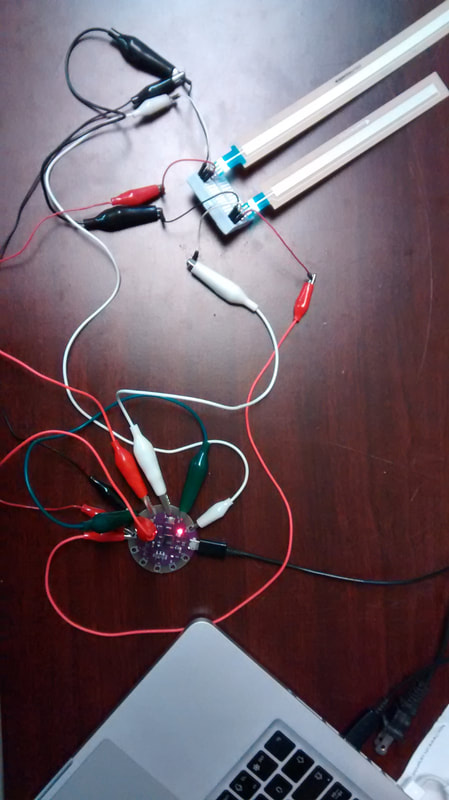
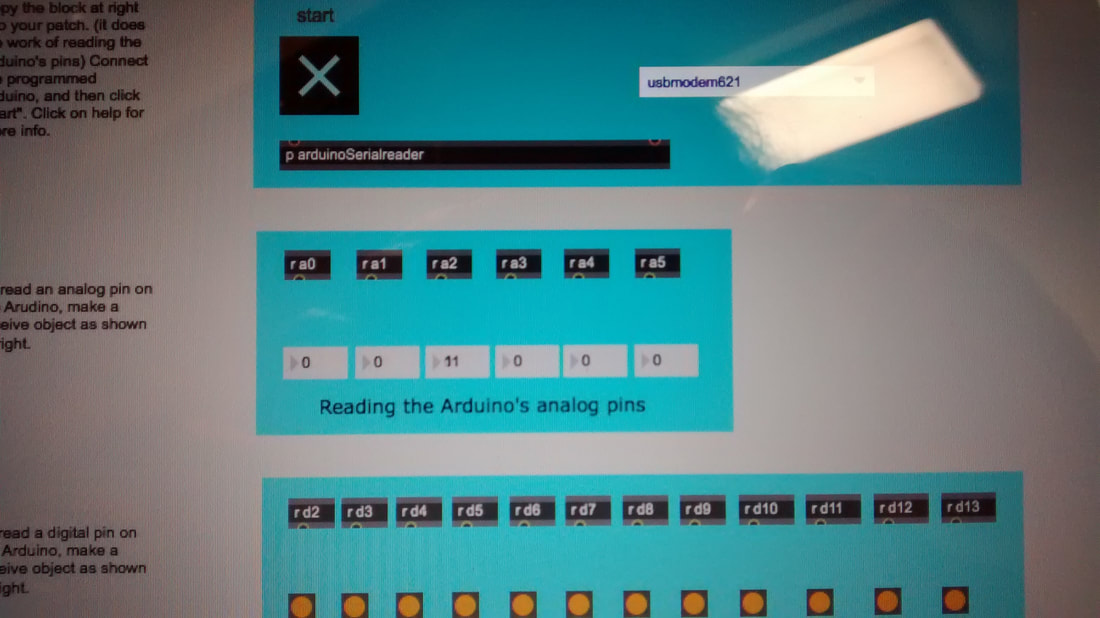
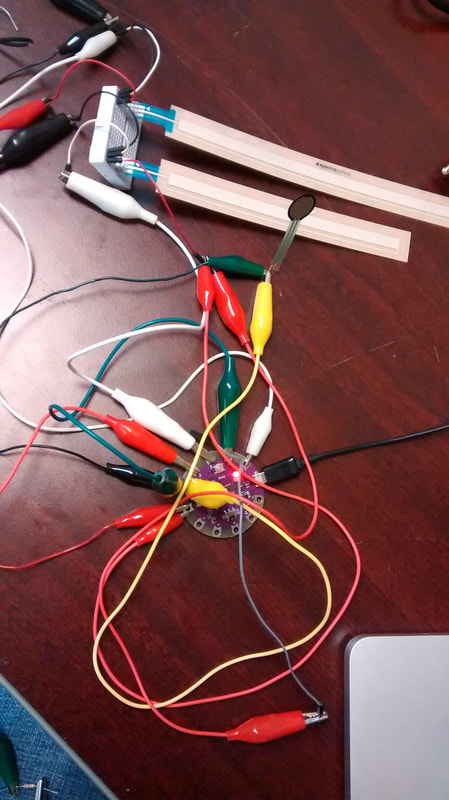
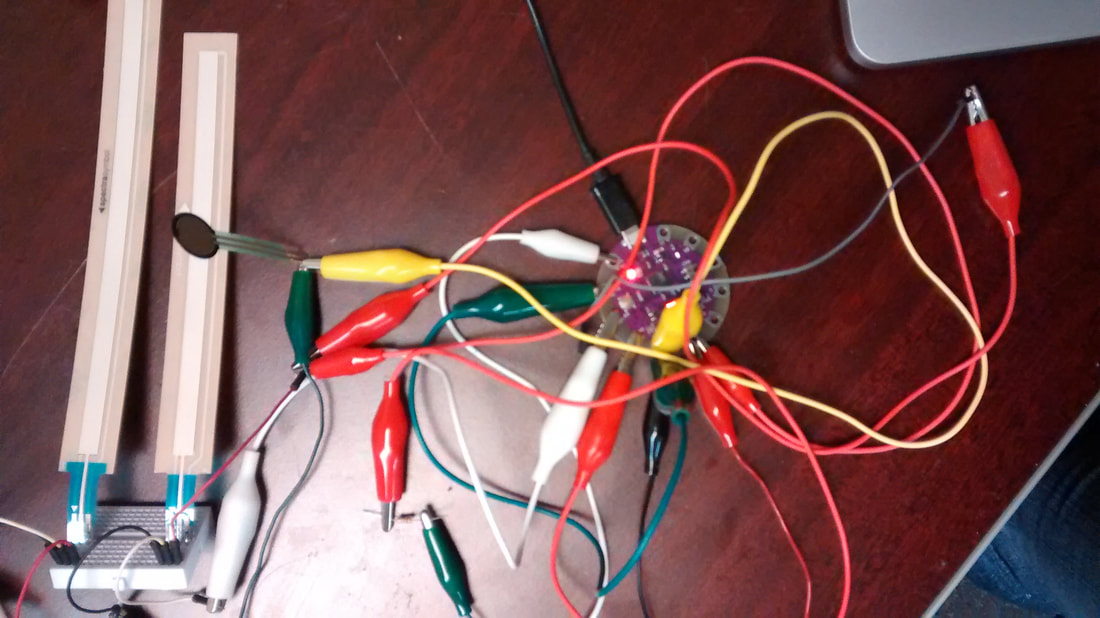
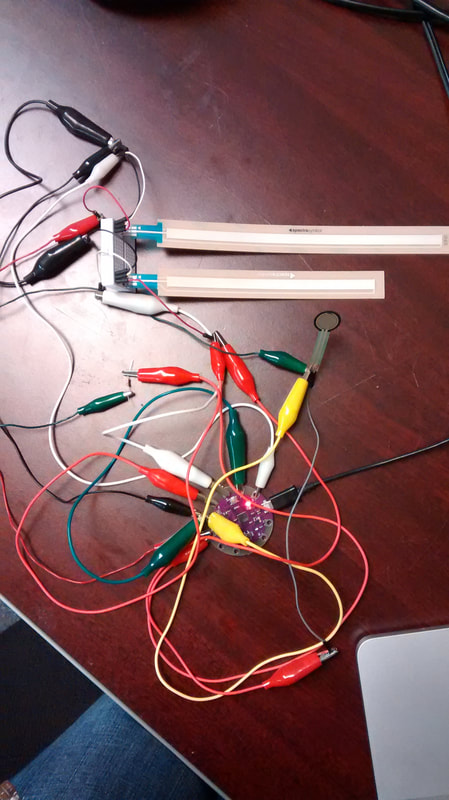
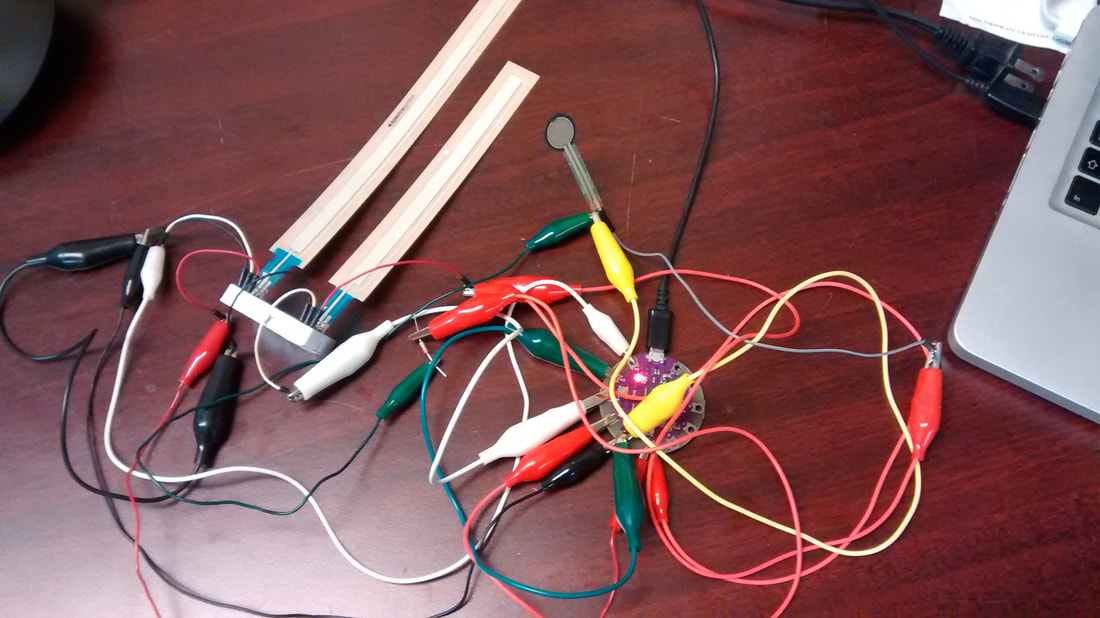
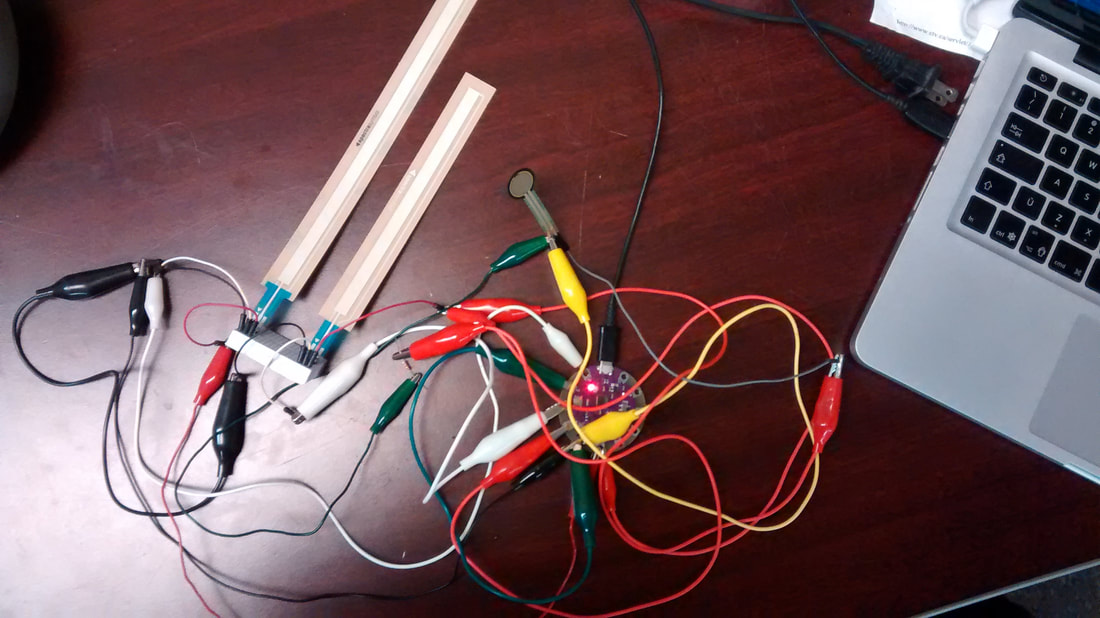
For my project I am using a Mendini painted black violin. It was given to me a few years ago so that I would have an instrument for busking that is both visually flashy and I wouldn't care if it got damaged by the weather. Now it is the perfect violin for my project because under no circumstances would I stick sensors to me good violin. Today I worked on the practicality of attaching the Arduino to the violin. A while back I had accidentally broke on of the posts on my Wittner adjustable chin rest. It's a good thing I held onto it! I had glued the broken post into place and attached it to the lower left side of my violin. The idea is that the Arduino will sit onto of the extra chin rest. At first I had imagined it would be best to place it on the upper left side, but when I tried it, it would not attach there because of the angle. I had also programmed a way for the soft pots to act like one long strip. However, the jitter is a problem. When one of them is pressed, it works the way I want and expected it to. But when both of them are released, the jitter causes the program to rapidly switch between each soft pot. The solution is to add a resistor to both of them, which brings their resting value to 0. Some of the best discoveries are made by accident. I started by hooking up the FSR and found that I was receiving values up to 1023. This confused me because I didn't get anywhere close to that number last time. I went back to my last pictures and realized I had hooked up the FSR incorrectly last time, and that is why I only got a few values as opposed to 1023. The FSR is only going to be used to bang presets, so on the programming side, it is a simple fix with changing the threshold. The first picture is the wrong way. The bottom three pictures are correct. 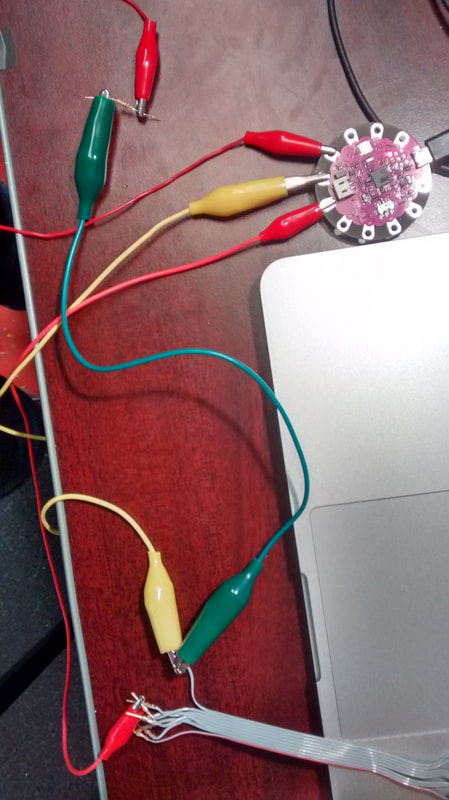 I am using an Arduino Lilypad USB simply because it is the Arduino that I have. I may purchase a different Arduino in the future. When I had first hooked up the soft pots, they were connected to petals A2 and A3 (right beside each other). With that setup, data was bleeding from A2 into A3. I discovered that if I hook them up a petal apart (A2 and A4), and ground the petal in the middle, it fixes the bleeding problem. Values from both soft pots are between 0-1023. They are quite jittery. I then added the FSR and got values 0-5ish. Problems: how to combine the soft pots so they act like one long strip? |
Welcome to the TRAVIS blog!If you would like to see a summary of my work, please click here. Archives
May 2022
Categories


|


 RSS Feed
