|
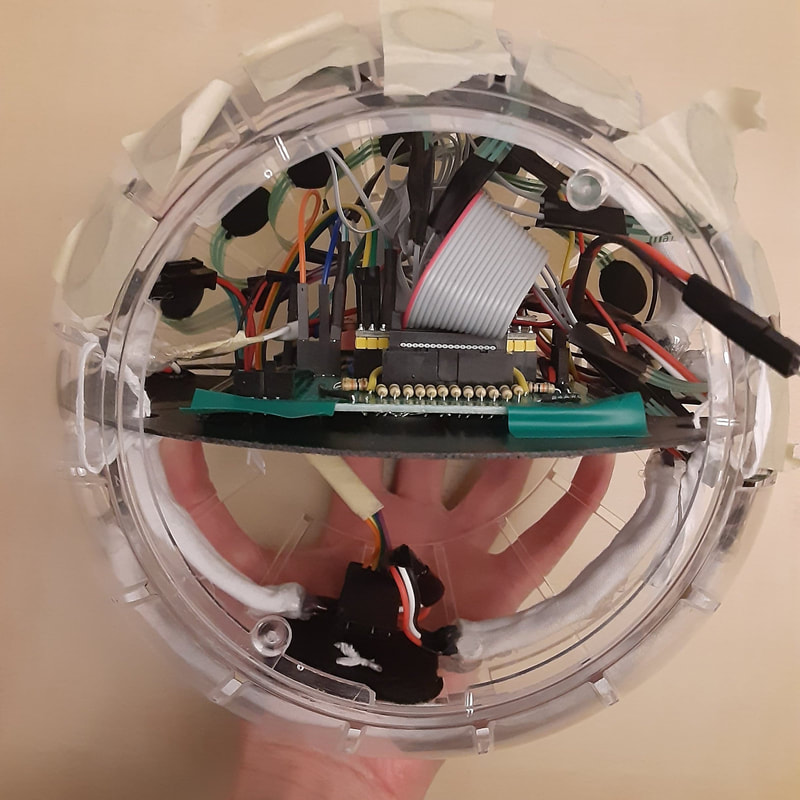
Every time I think I'm just one more step away from finishing the physical side, something else comes up. I hot glued the LED strip to the inside of the ball. It's actually a lot harder than it look to put the ball together with the LEDs attached without accidentally pulling apart the connection for the LEDs in one spot. I should have made that spot's wires much longer. I worked around it by adding an extension to that one joint. I didn't want to ruin the hot glue and pull the LEDs off the ball to lengthen the wires.
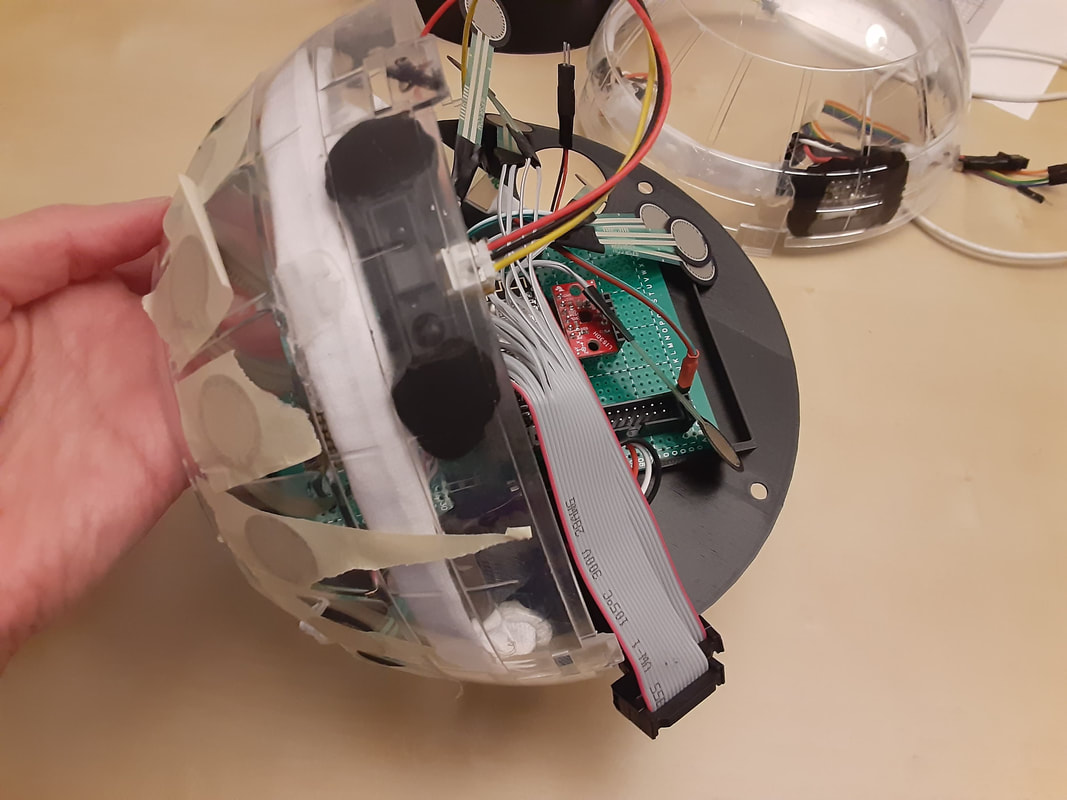
I used scotch tape to temporarily tape the FSRs into place. When I tried to plug everything in, I realized a few things. The wires are much messier in real life than what I imagined. It was much more difficult to plug in everything and I should have gotten a hamster ball that opens on both sides. I should have oriented the USB connector towards the opening. I should have added a battery switch to the circuitboard.
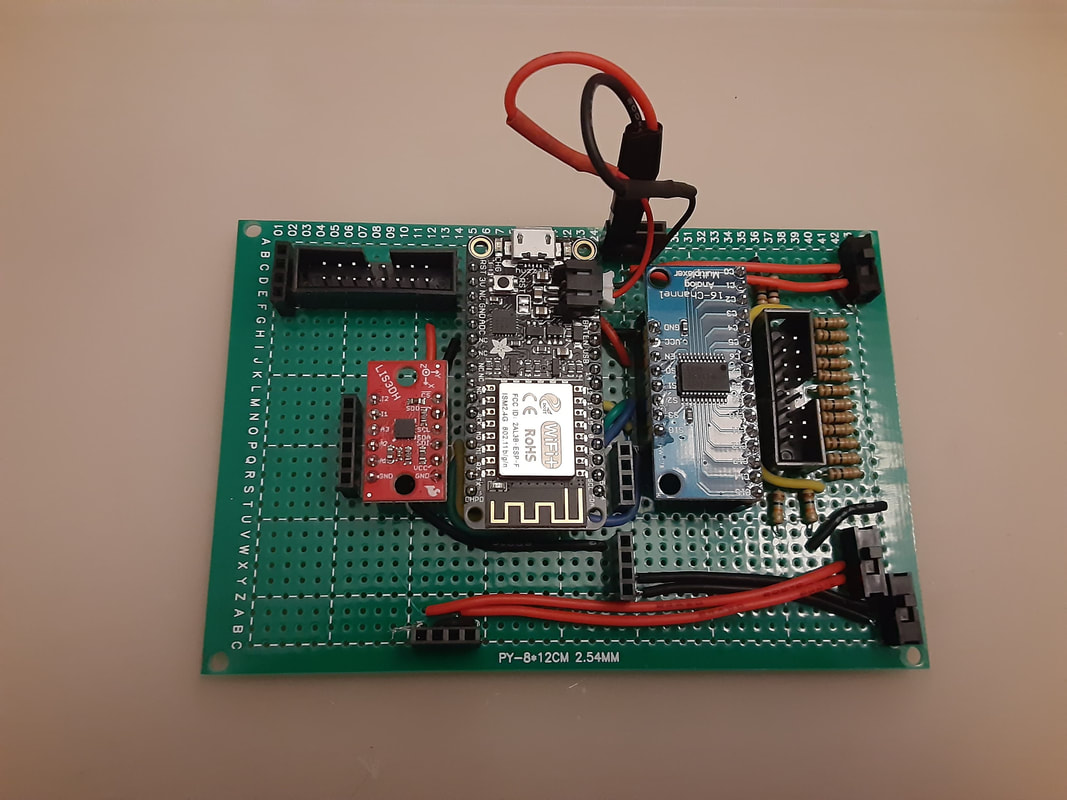
So I unplugged everything and took out the circuitboard and added a switch for both batteries. It would still be difficult to switch the ESP9266 from being plugged into one battery to the other though. I plugged in the USB cable and I think once I go wireless, I'm just going to stuff the cable into the bottom of the ball. Next I'll see if there really isn't anything else I can do to clean up these wires, then I'm going to attach the FSRs for real. Then go back to working on making all the other sensors wireless. I will also have to test if the paint chips can slip under the 3D printed stand easily. Campus has now come much closer to a complete lockdown due to covid-19... yay... so I'm definitely not going to 3D print ever again until I can get my own printer. :( If the stand is too tall, I'mm have to sand it lots, and if it's too short I'll add something like sugru to it to lift it up.
0 Comments
Leave a Reply. |
Welcome!If you are looking for a summary for my Masters thesis, it is here. Archives
November 2022
Categories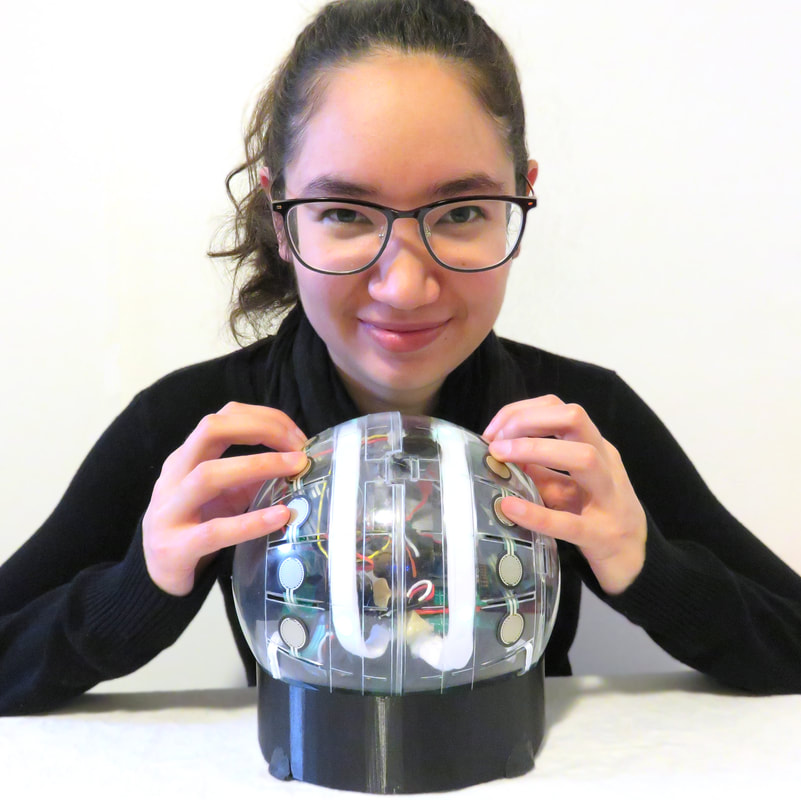
|
 RSS Feed
